Foods I buy & eat
Weekday Breakfast:
- One green banana
- 4 heaping serving spoons of my Chia Nut Berry Spice Bowl (see ingredients).
Weekend Breakfast:
On Saturday, at home:
- One green banana
- 4-egg omelet with arugula and precooked mushrooms
On Sunday, at church:
- Happy Goat Omelet with extra egg (3)
- Hashbrowns
Lunch:
Only a few times/week, consisting of:
- One or more of the following:
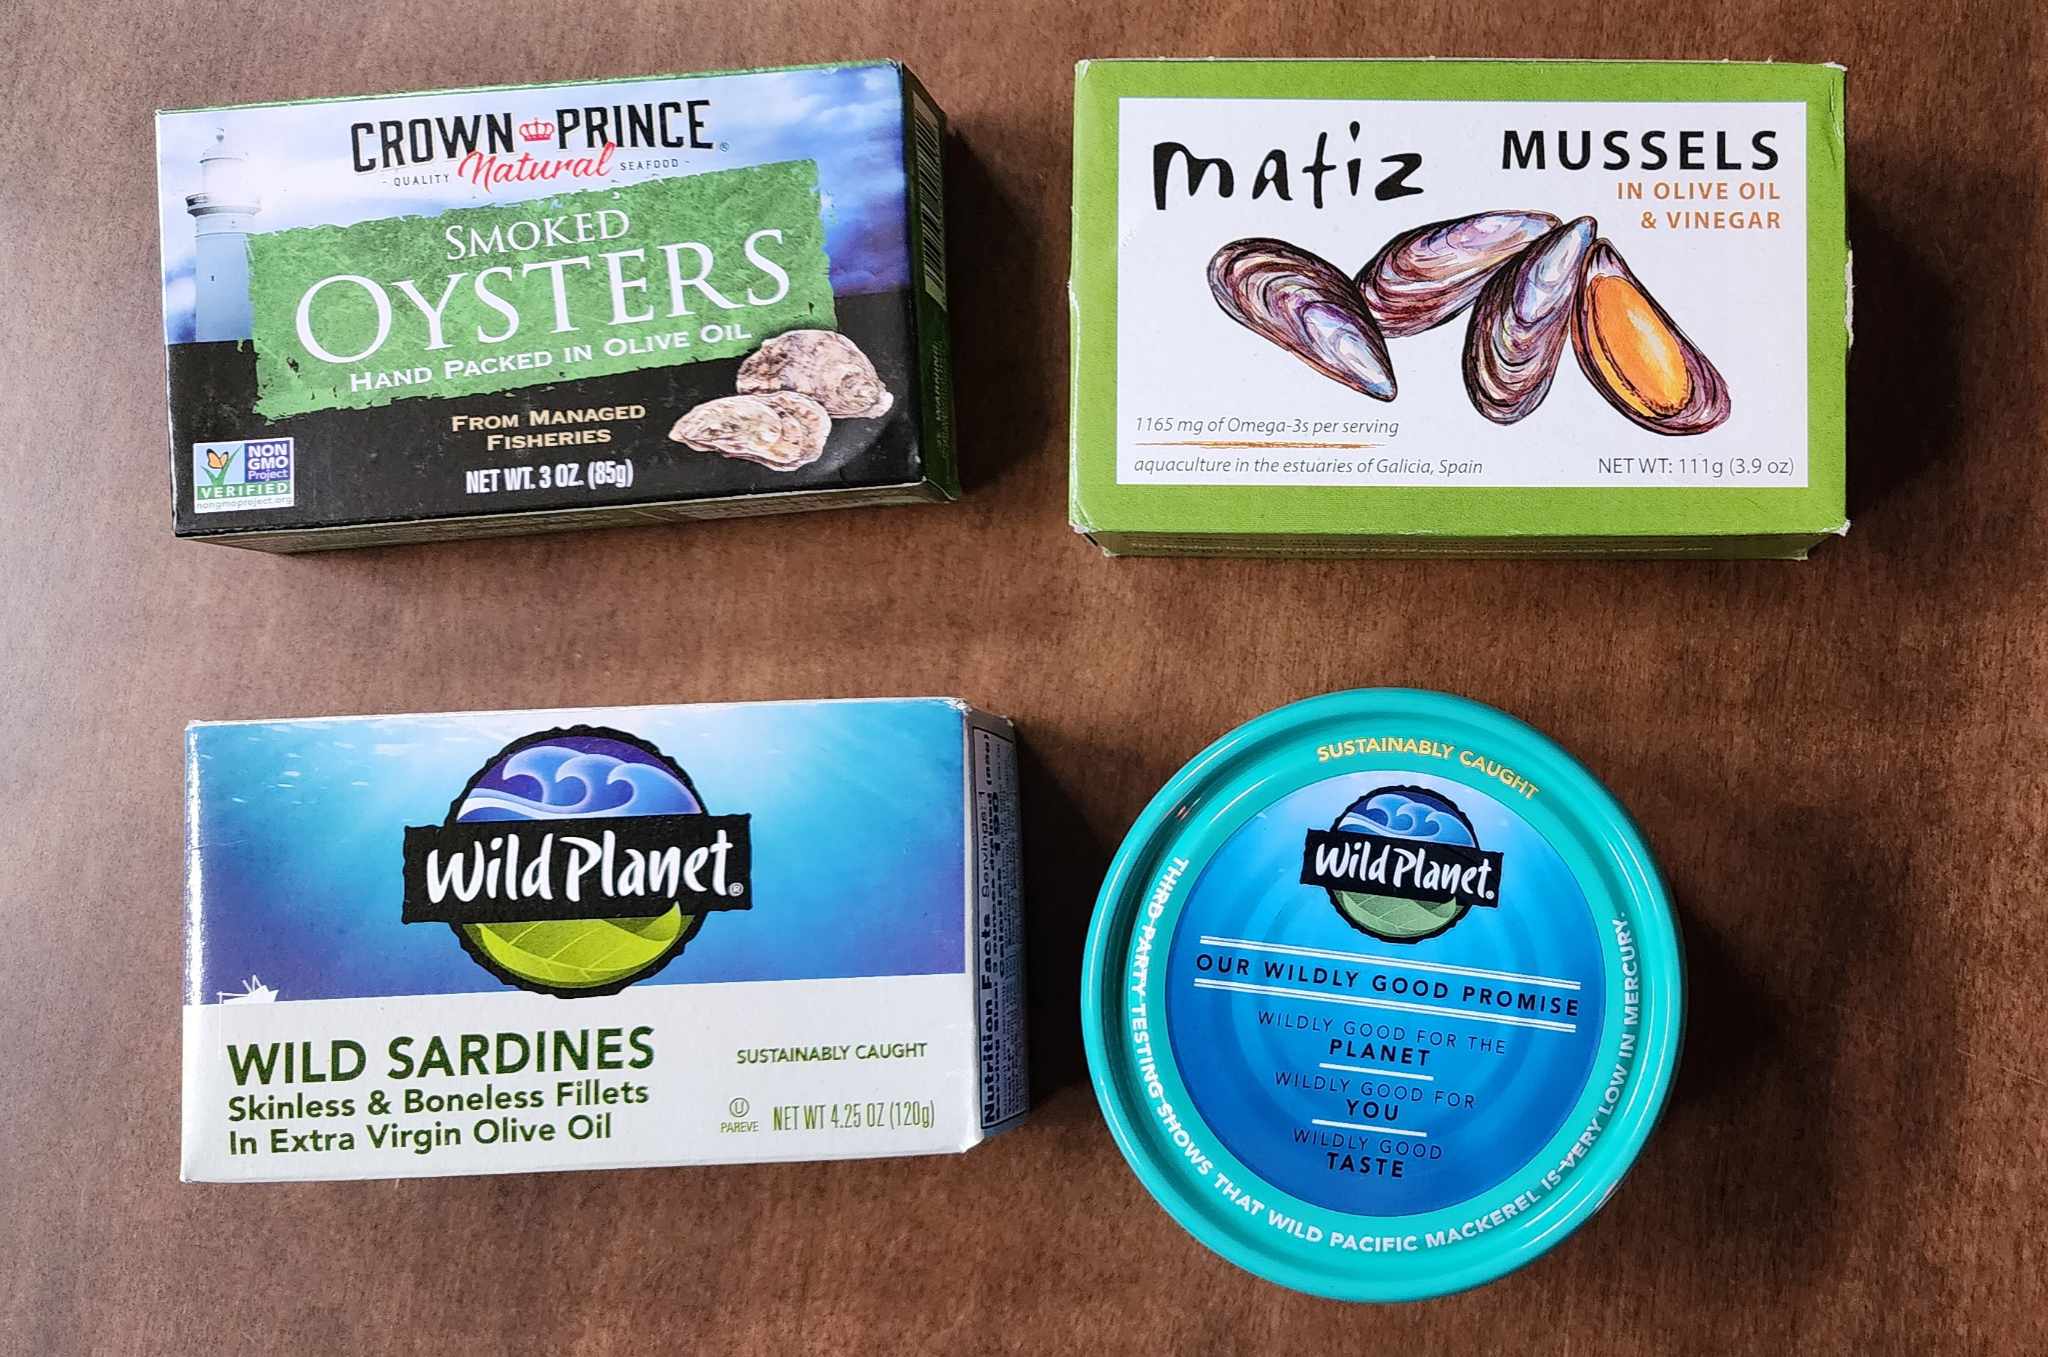
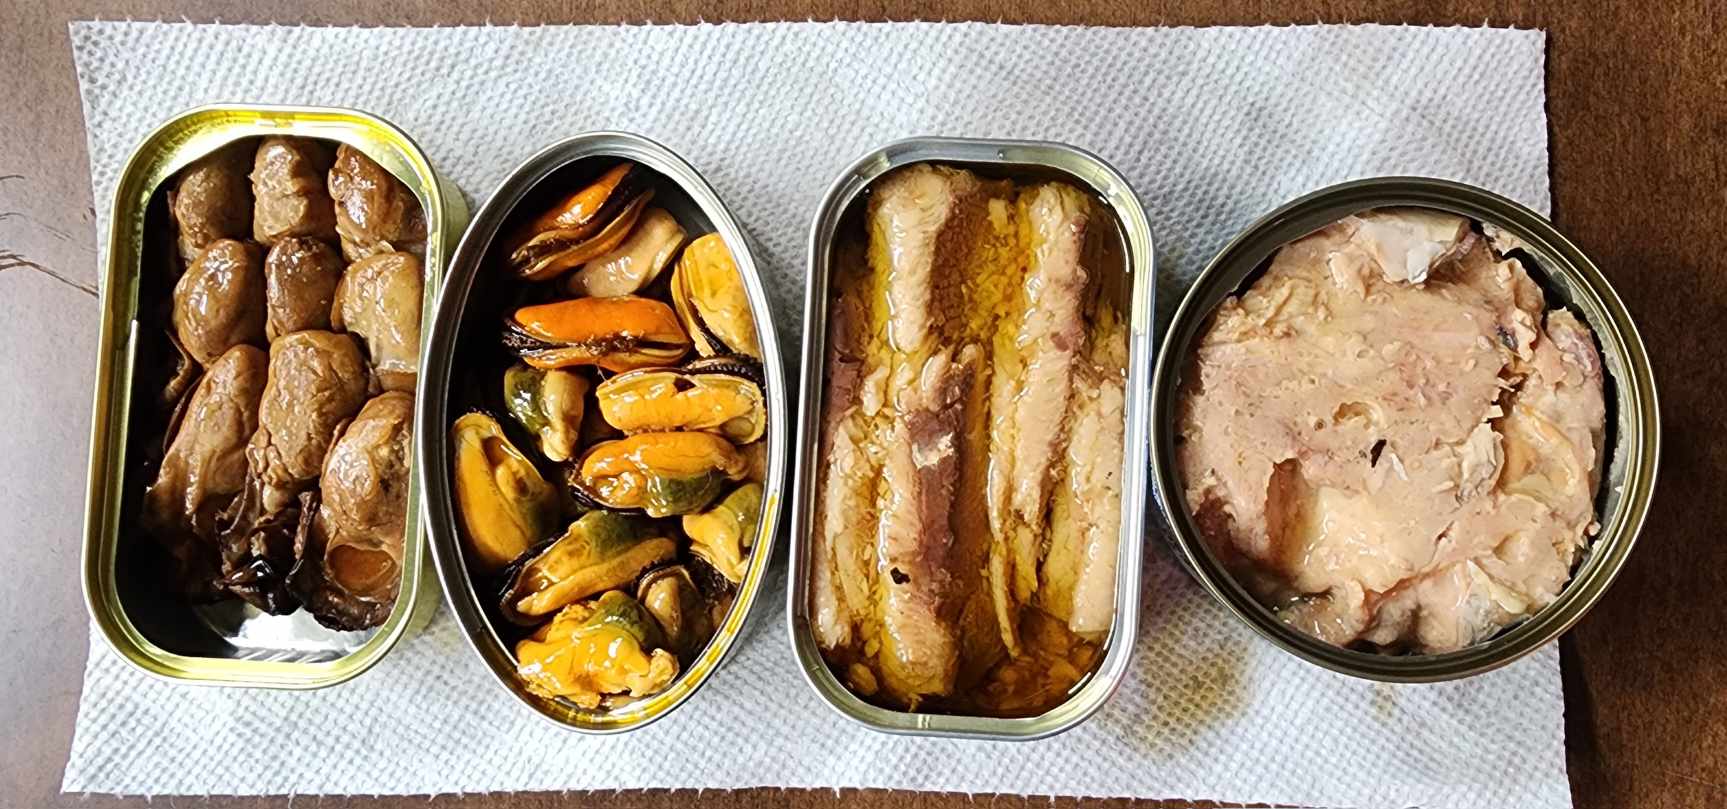
o 1 can Wild Planet Sardines
o 1 can Matiz Mussels
o 1 can Crown Prince Oysters
o 1 can of Wild Planet Mackerel
o 8-10 precooked thawed frozen shrimp
- 1 Avocado
- 1 Green Apple
- 1 Pear
- 1 Orange
- Raw baby carrots
- Chunks of celery stalk, used like chips to scoop hummus.
- Chicken or Beef Bone Broth
Dinner:
Usually between 3-5pm, ending before 6pm. All of my meat comes from ButcherBox and is organic, grass-fed, grass-finished, free-range, pasture-raised, or wild-caught.
I’m still learning, but I’ve got the following items down pretty well, consisting of:
- A very large pre-made salad(see ingredients)
- Optionally one of the following meat selections:
a) a slow-cooker meal, such as:
- Chuck roast, cooked with:
o baby carrots
o Purple, yellow, and white onions
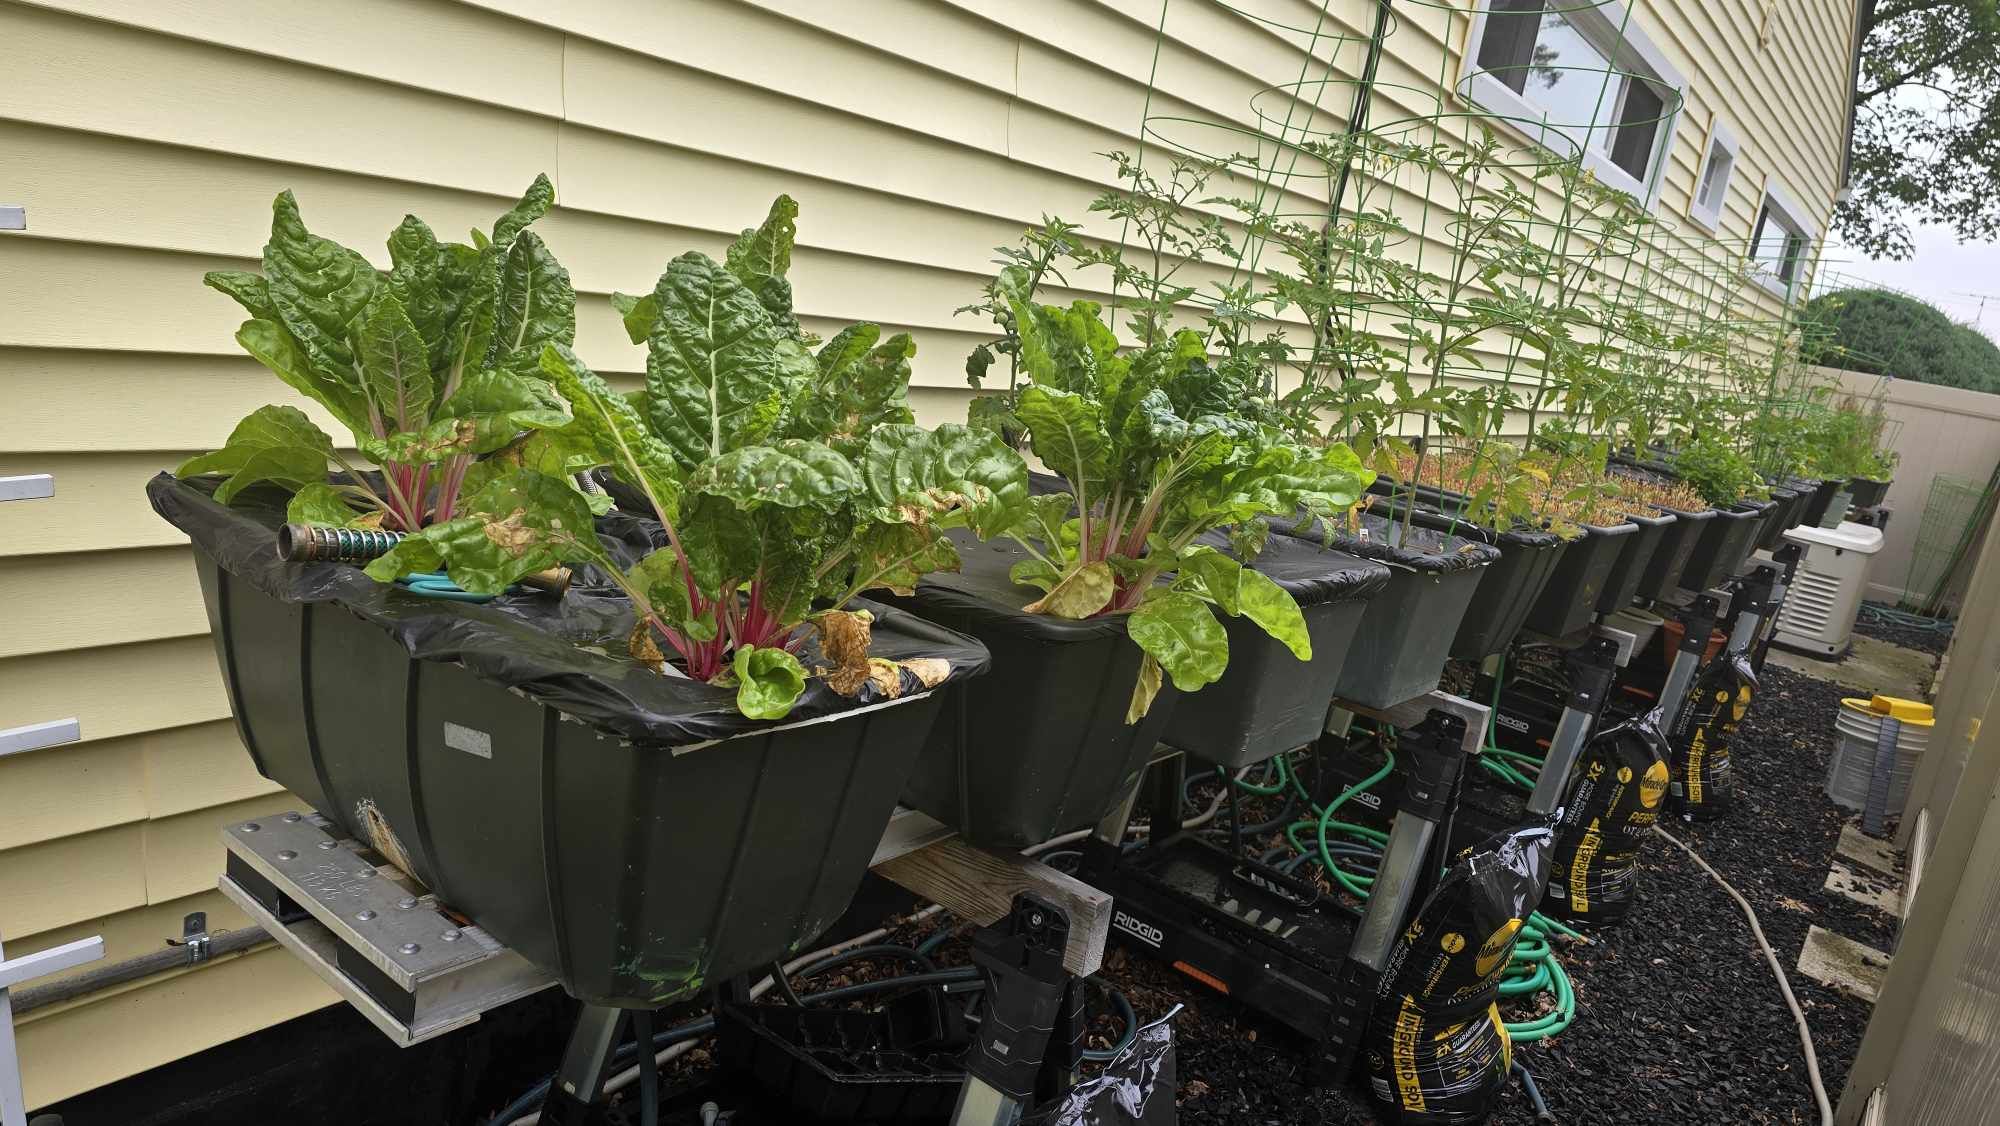
o mix of potatoes (homegrown in season):
- purple petite potatoes
- sweet potatoes
- yams
o cayenne pepper
o red pepper flakes (from my sister's garden)
o garlic (homegrown)
o fresh chopped homegrown herbs (rosemary, oregano, basil)
- Pork Ribs, cooked with:
o sauerkraut,
o baby carrots,
o fresh chopped homegrown herbs (rosemary, oregano, basil)
It has been pointed out that slow-cooking meat can increase their histamine levels. I'm very fortunate and grateful that I don't suffer from histamine intolerance. However, I do understand that some people experience reactions due to their body's inability to break down excess histamine efficiently.
Certain genetic SNPs can impact a person's ability to create diamine oxidase (DAO), the enzyme responsible for breaking down histamine in the gut. So far at least, I seem to be an efficient producer of DAO.
Pressure-cooking is more preferable, but due to the size of larger roasts and racks of ribs, I use a slow cooker. To limit potential histamine exposure, I always cook meat on high for the first hour in the slow cooker, which tends to kill histamine-forming bacteria early on.
b) or a Nu-Wave Infrared Oven “grilled” meal, such as:
- Atlantic wild-caught Salmon - quick to thaw and quick to cook, so I have it often.
- Grass-fed ground beef
seasoned with Mrs. Dash Seasoning.
c) or Instant Pot Pressure Cooker pressure-cooked chicken breasts
My meat selections with each meal are generally quite small - we're talking palm-sized portions. The bulk of my meals are the various vegetables, both cooked and raw.
- One or more choices of sides:
- Instant Pot Pressure Cooker pre-cooked sweet potatoes/yams (homegrown in season)
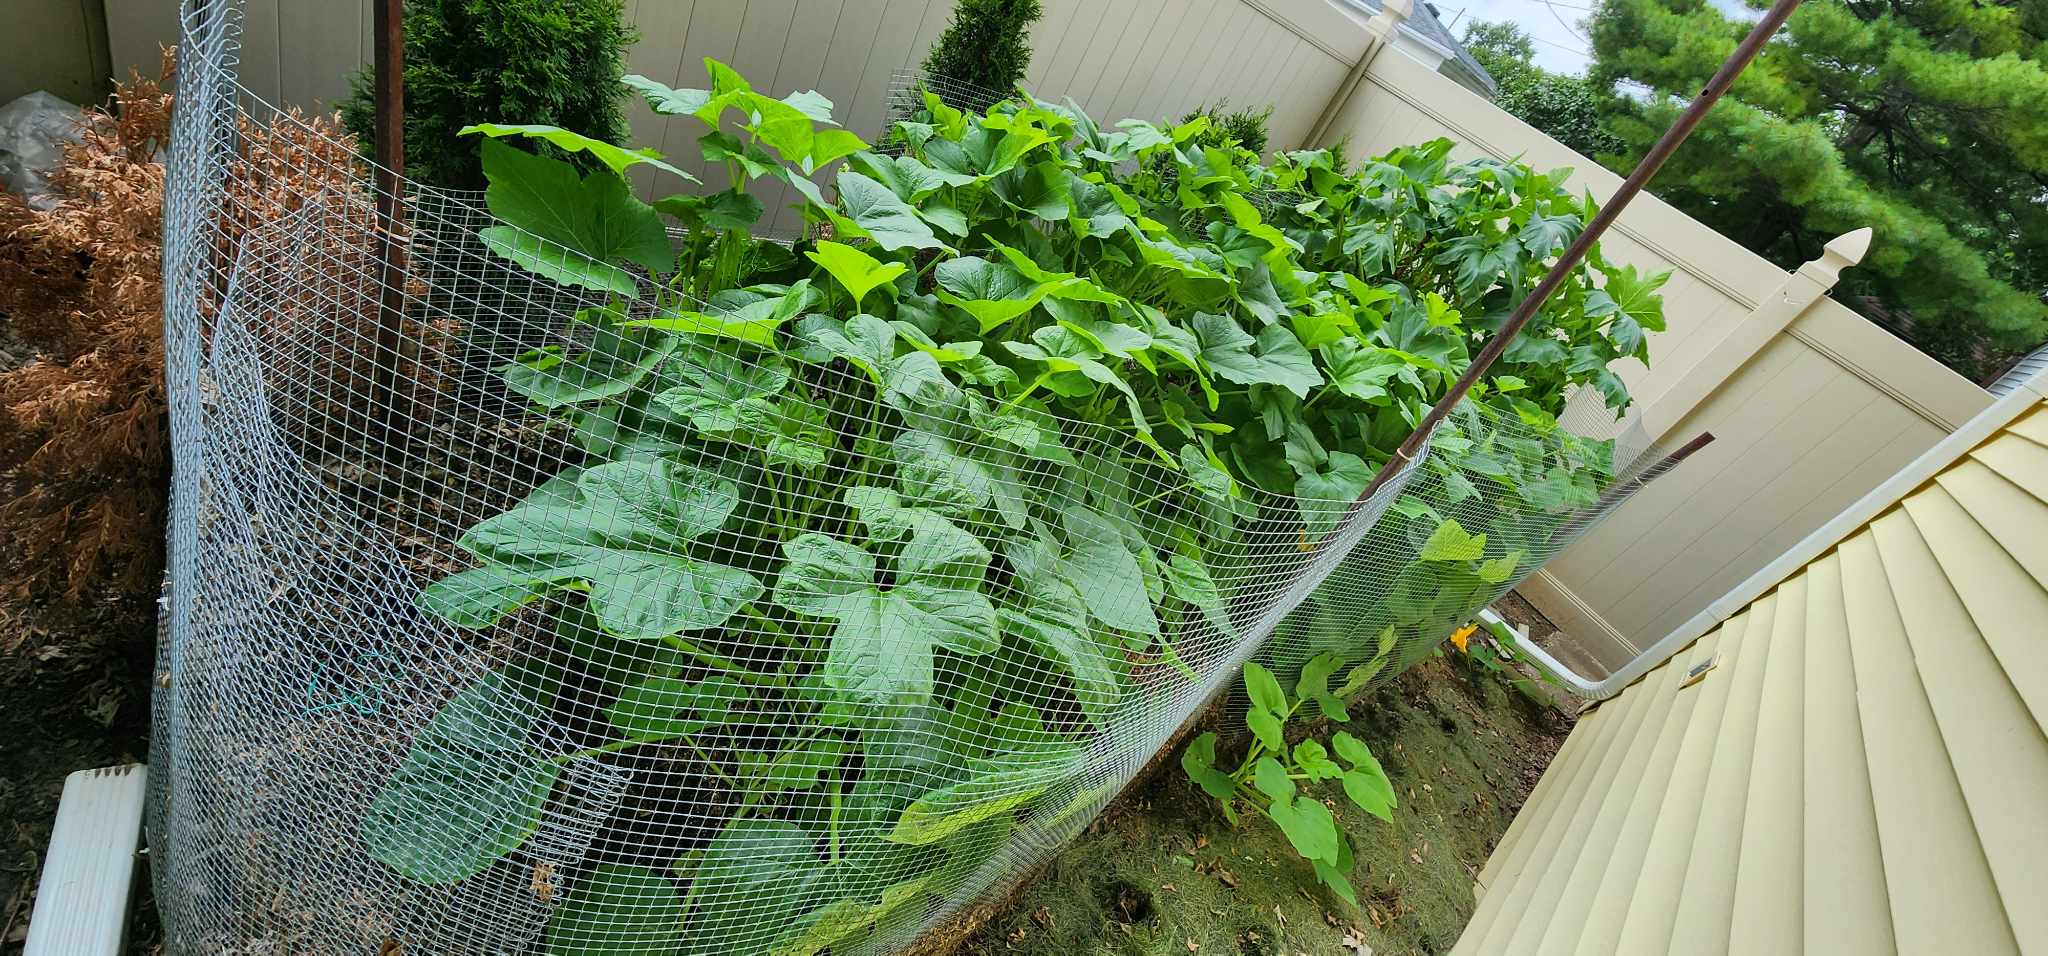
- Instant Pot Pressure Cooker pre-cooked acorn squash (homegrown in season)
- Instant Pot Pressure Cooker pre-cooked mushrooms
o Baby Bella
o Shiitake
o White Button
o I would gladly include other mushrooms, IF I could find them.
- Instant Pot Pressure Cooker pre-cooked rice, mix of various varieties, cooked in cast-off mushroom juice and chicken or beef bone broth:
o Basmati
o Sushi
o Purple
o Wild
o sometimes Quinoa
- Steamed broccoli.
By the way, all vegetables, rice, and mushrooms usually get doused in grass fed butter. I will begin using ghee again, the next time I spot some in the health food store.
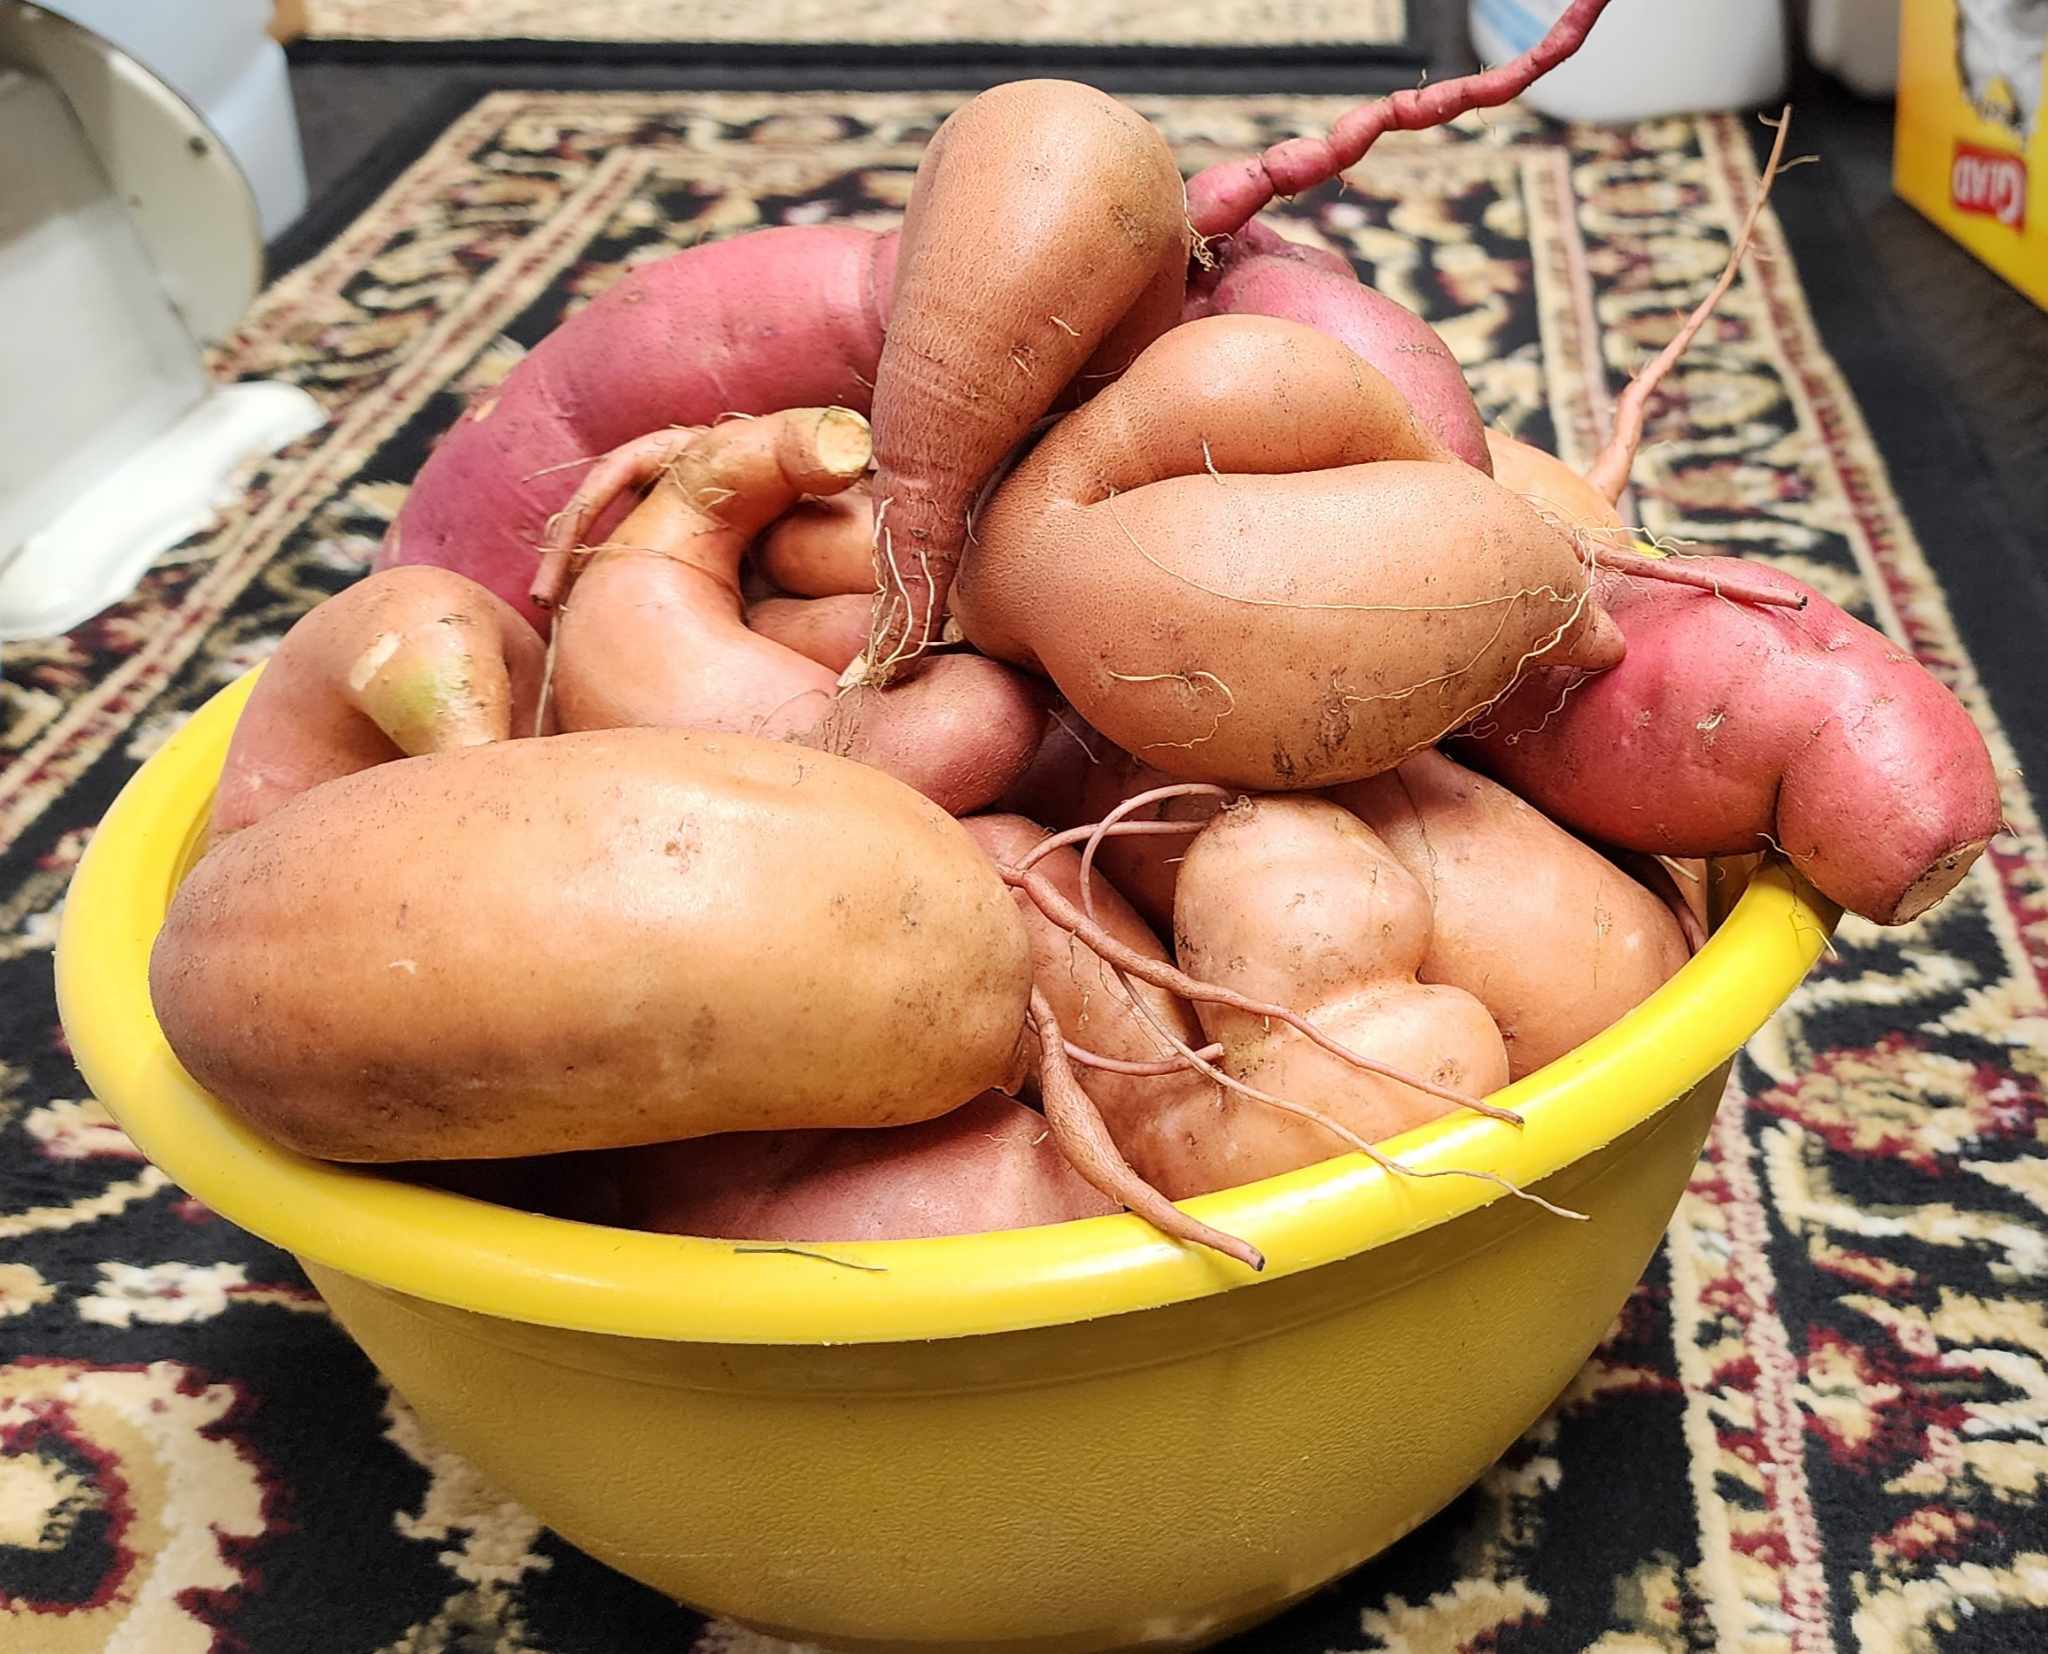
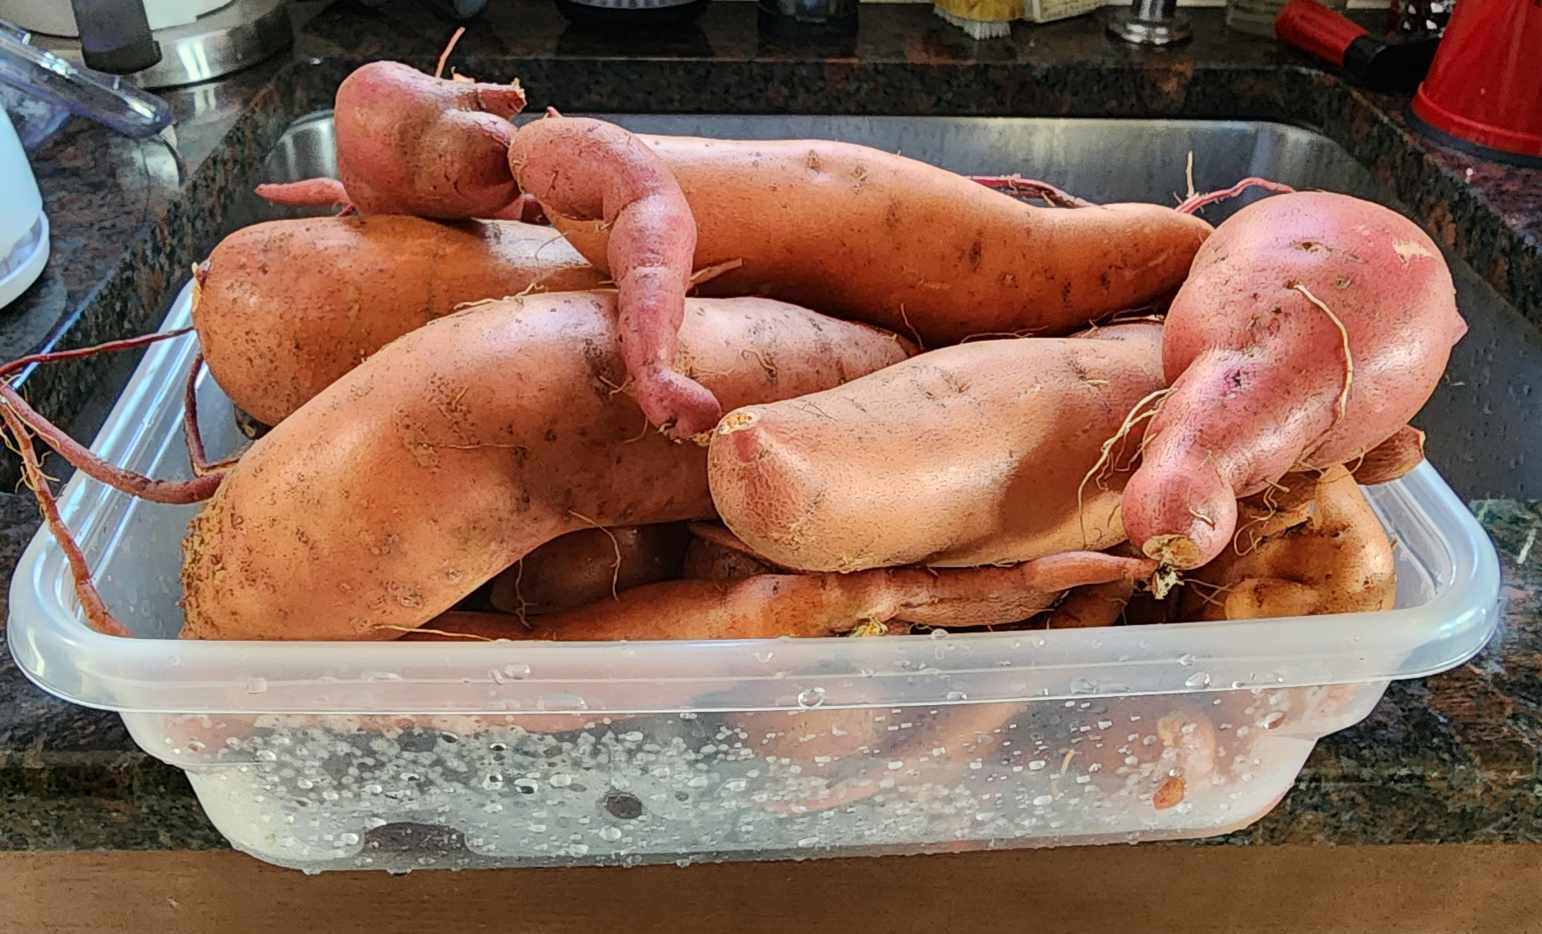
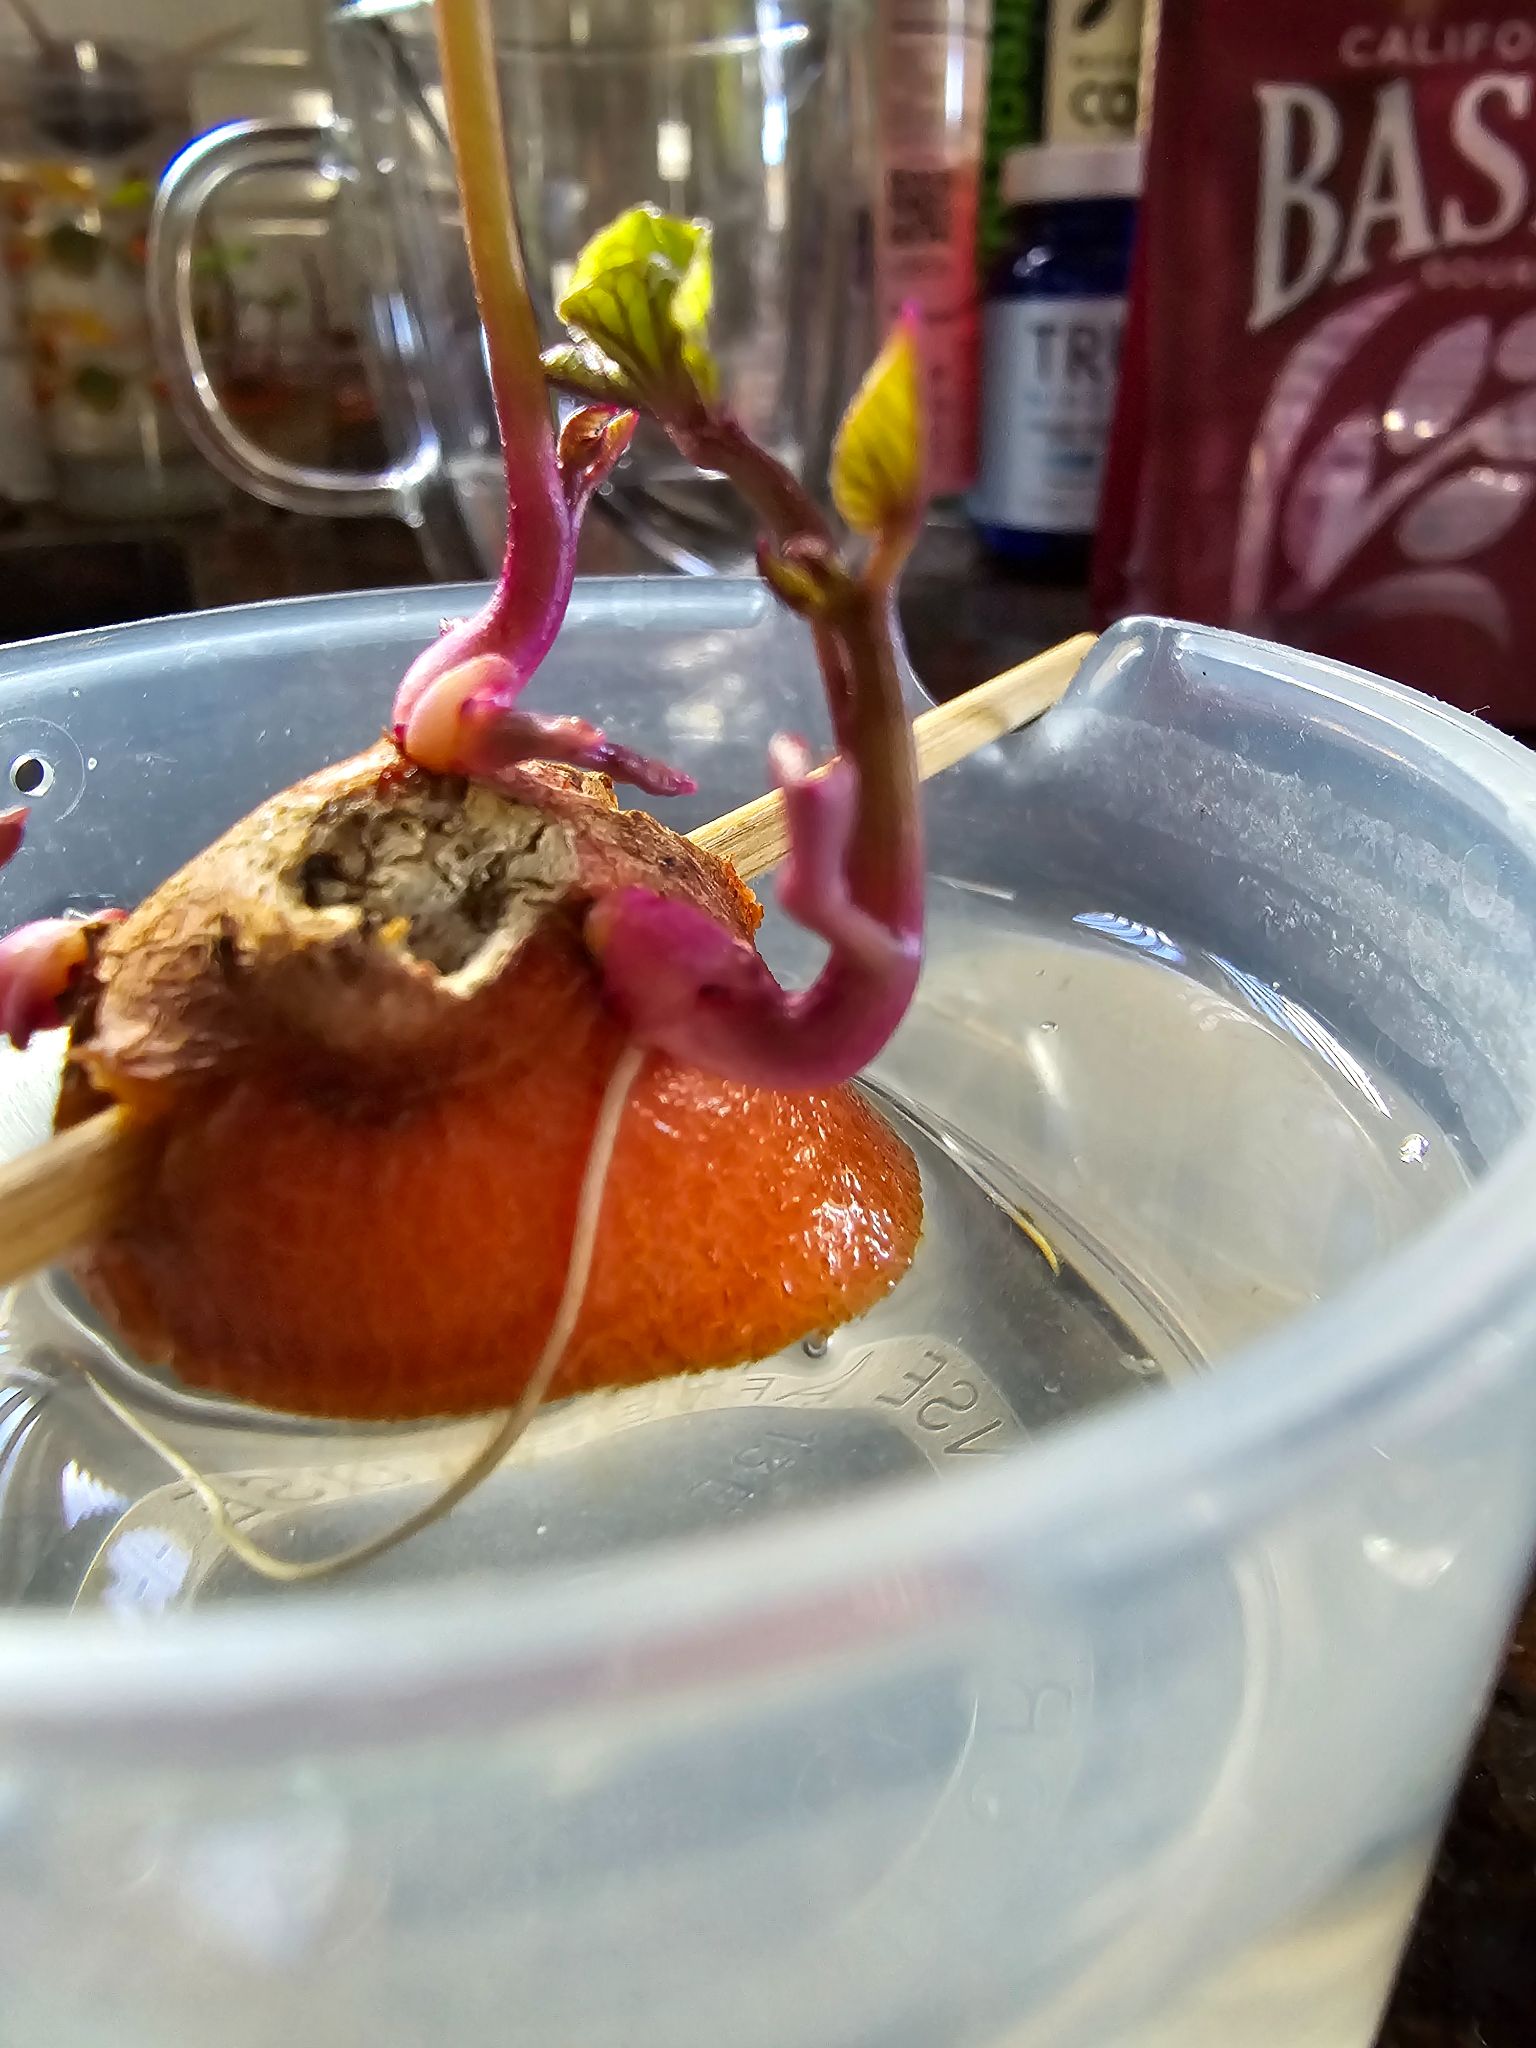
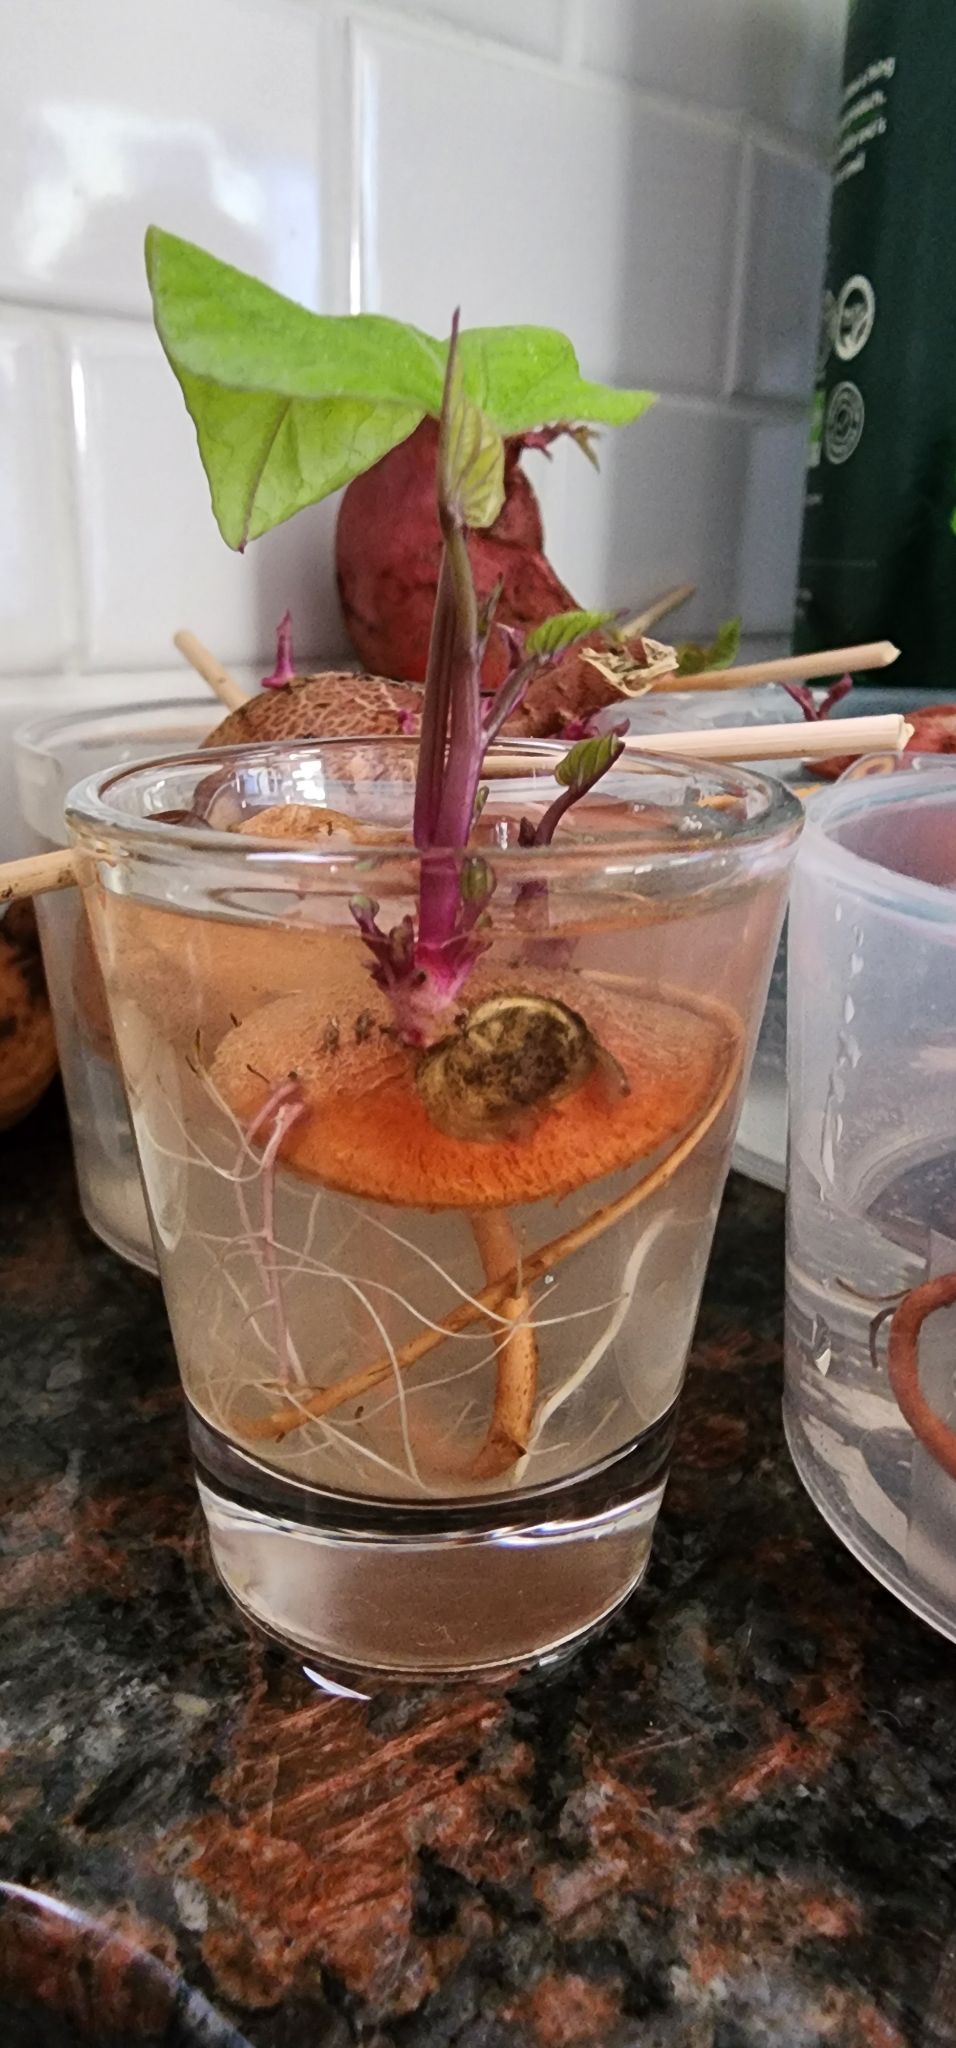
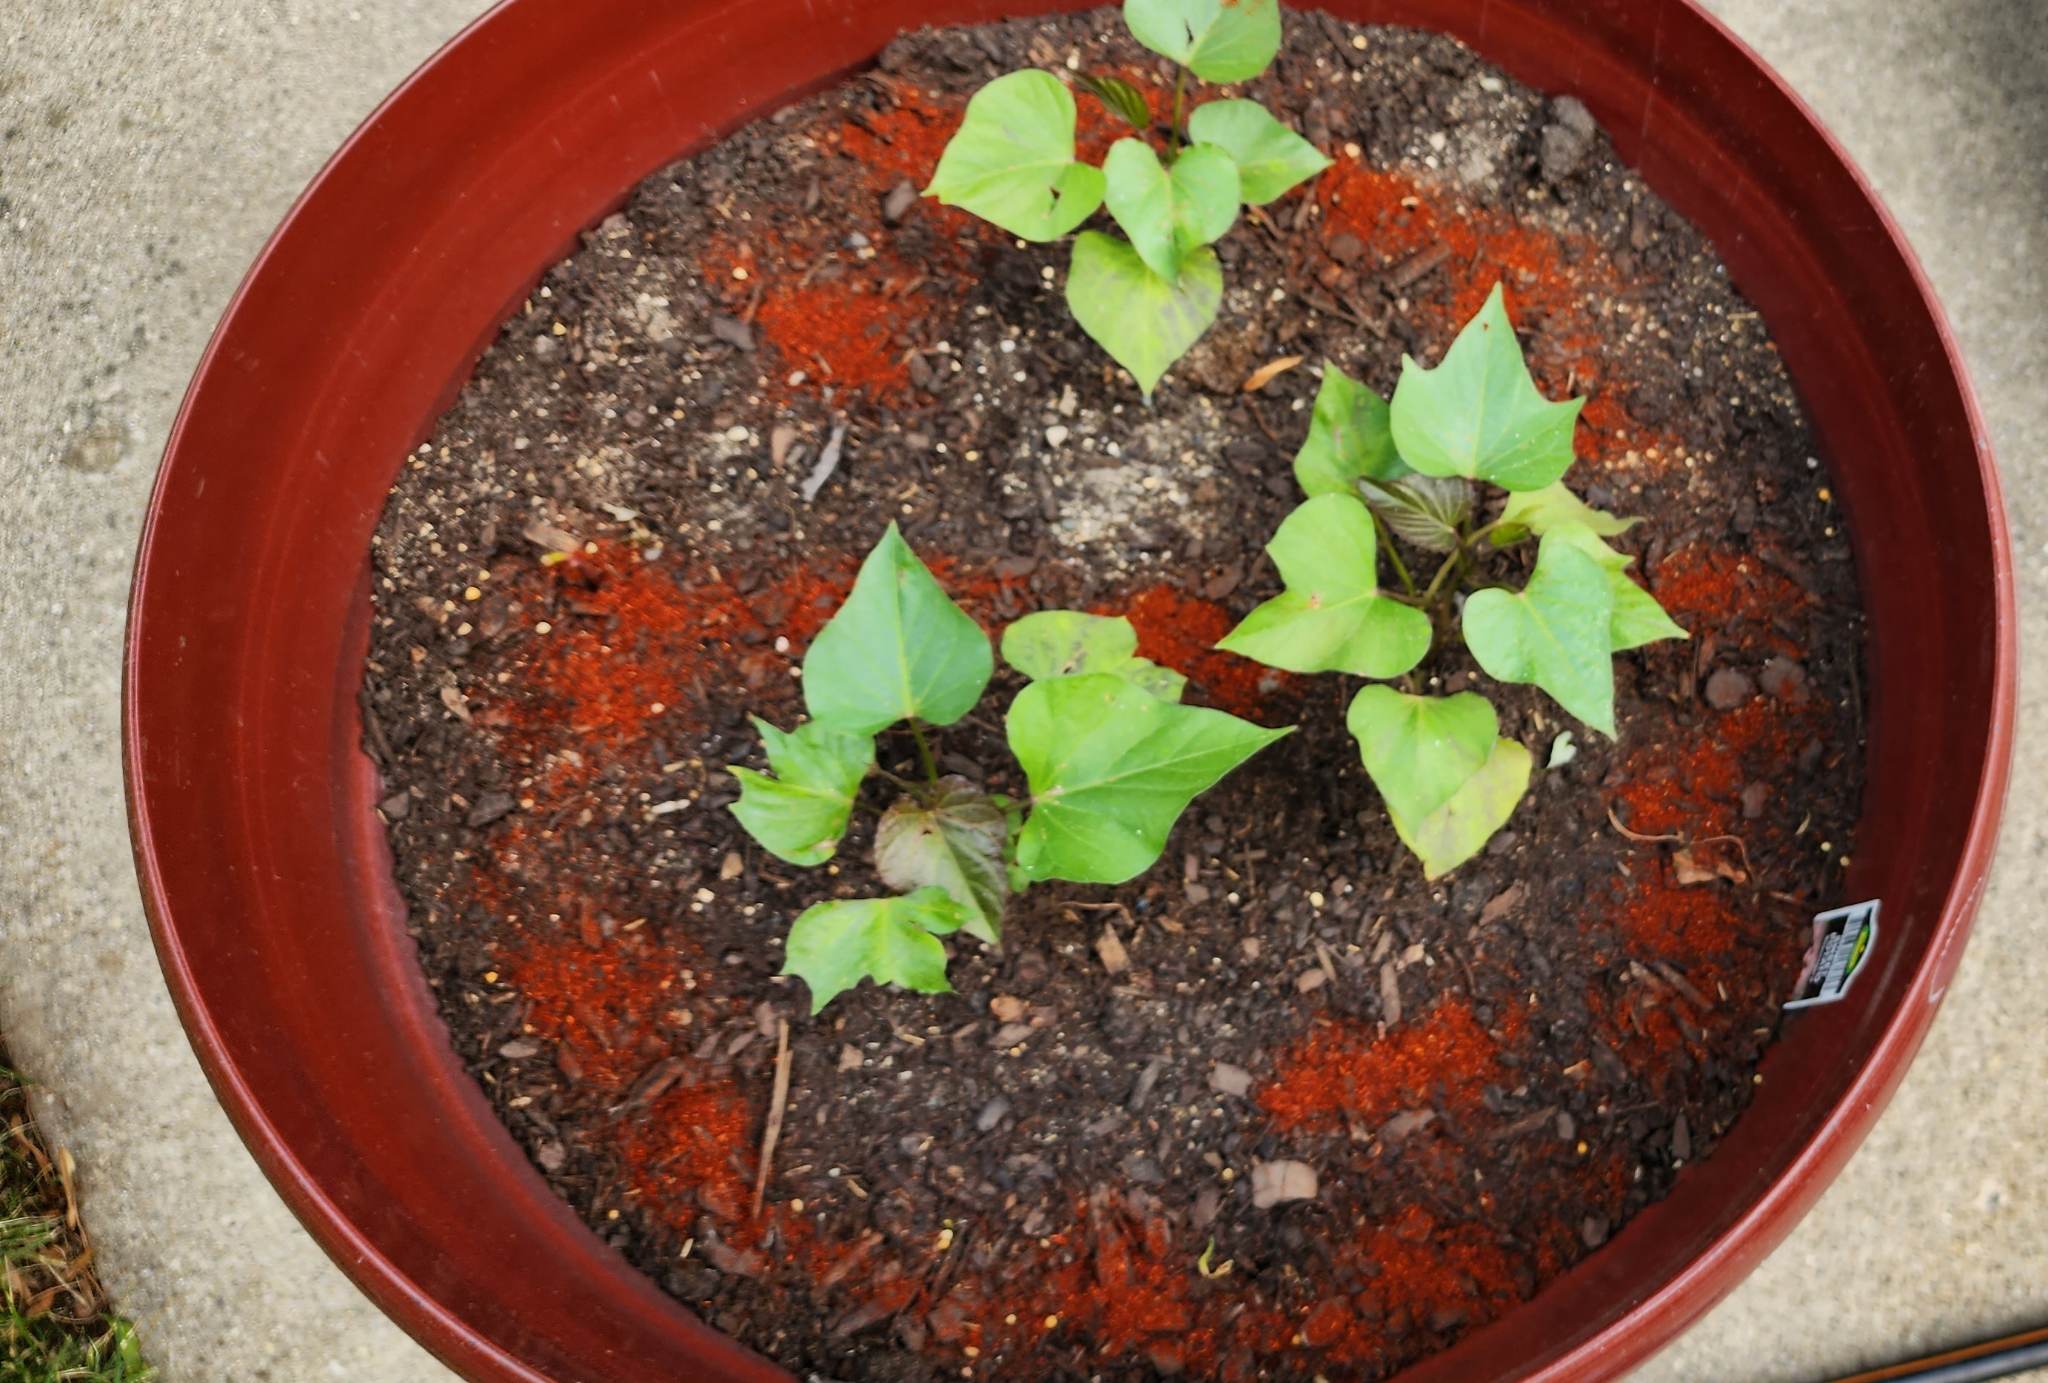
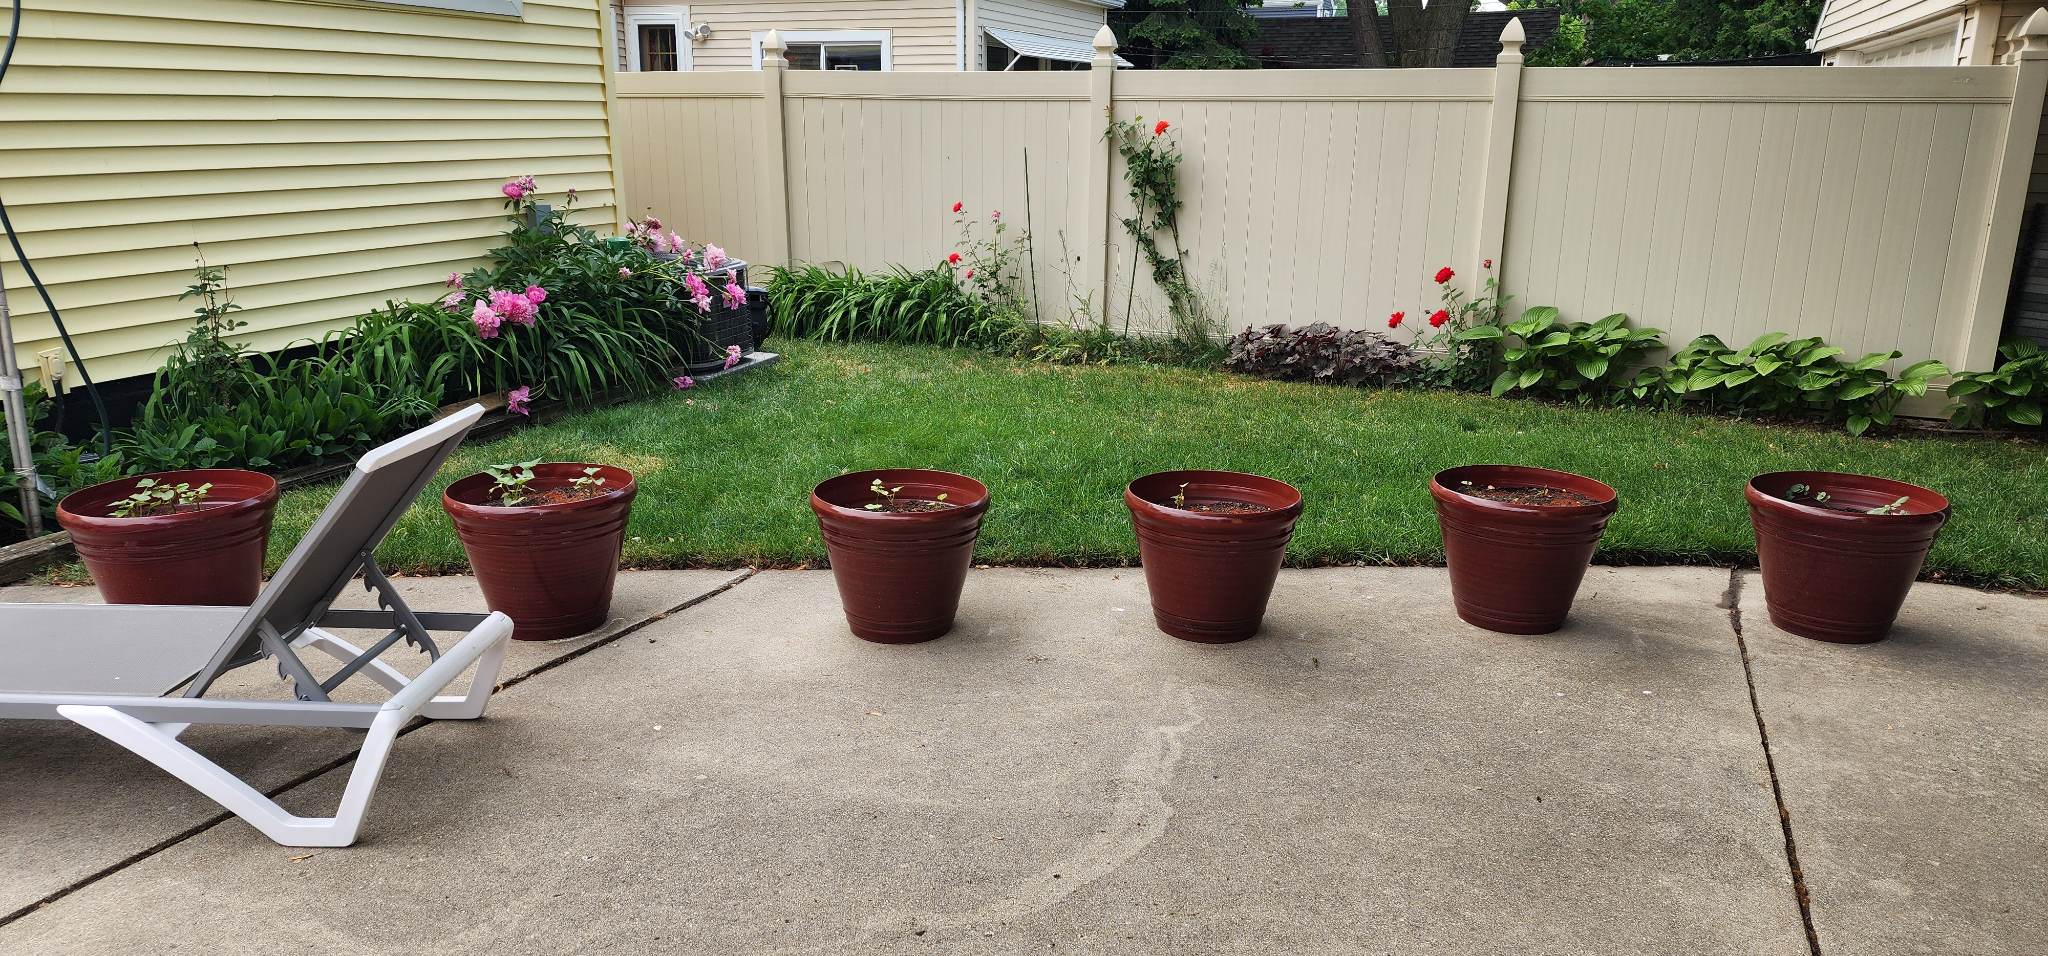
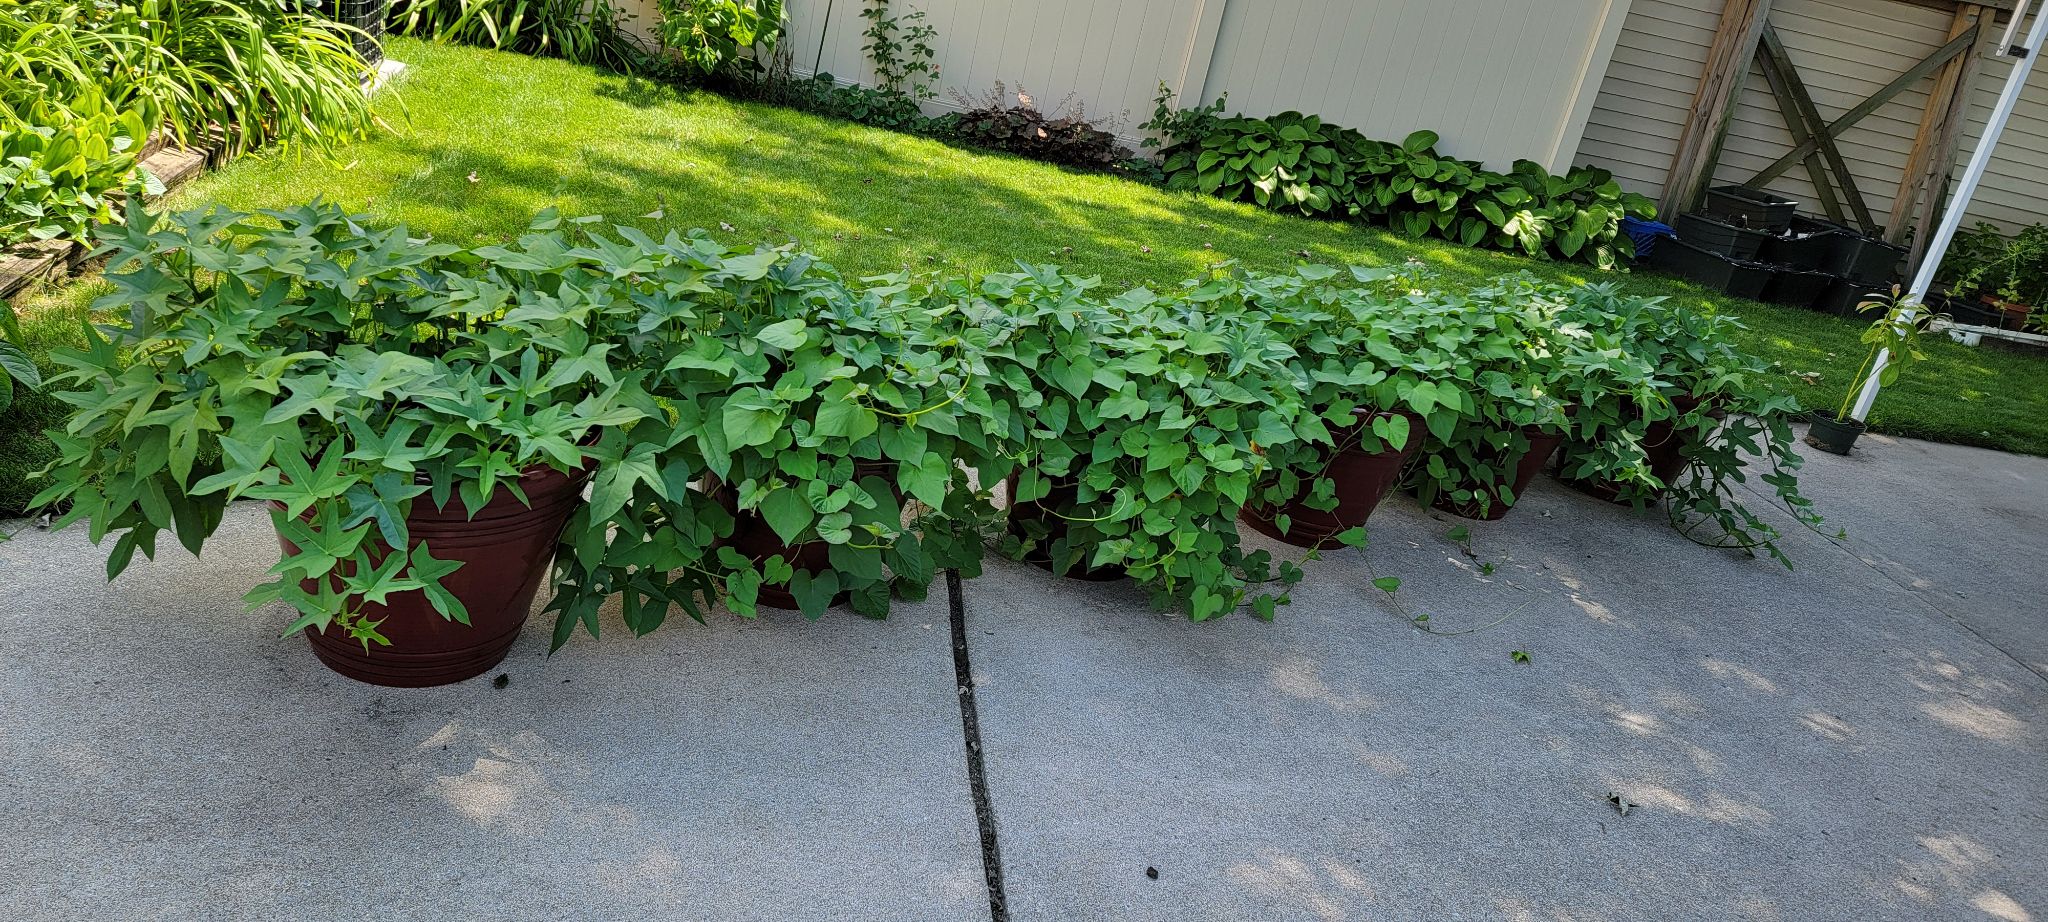
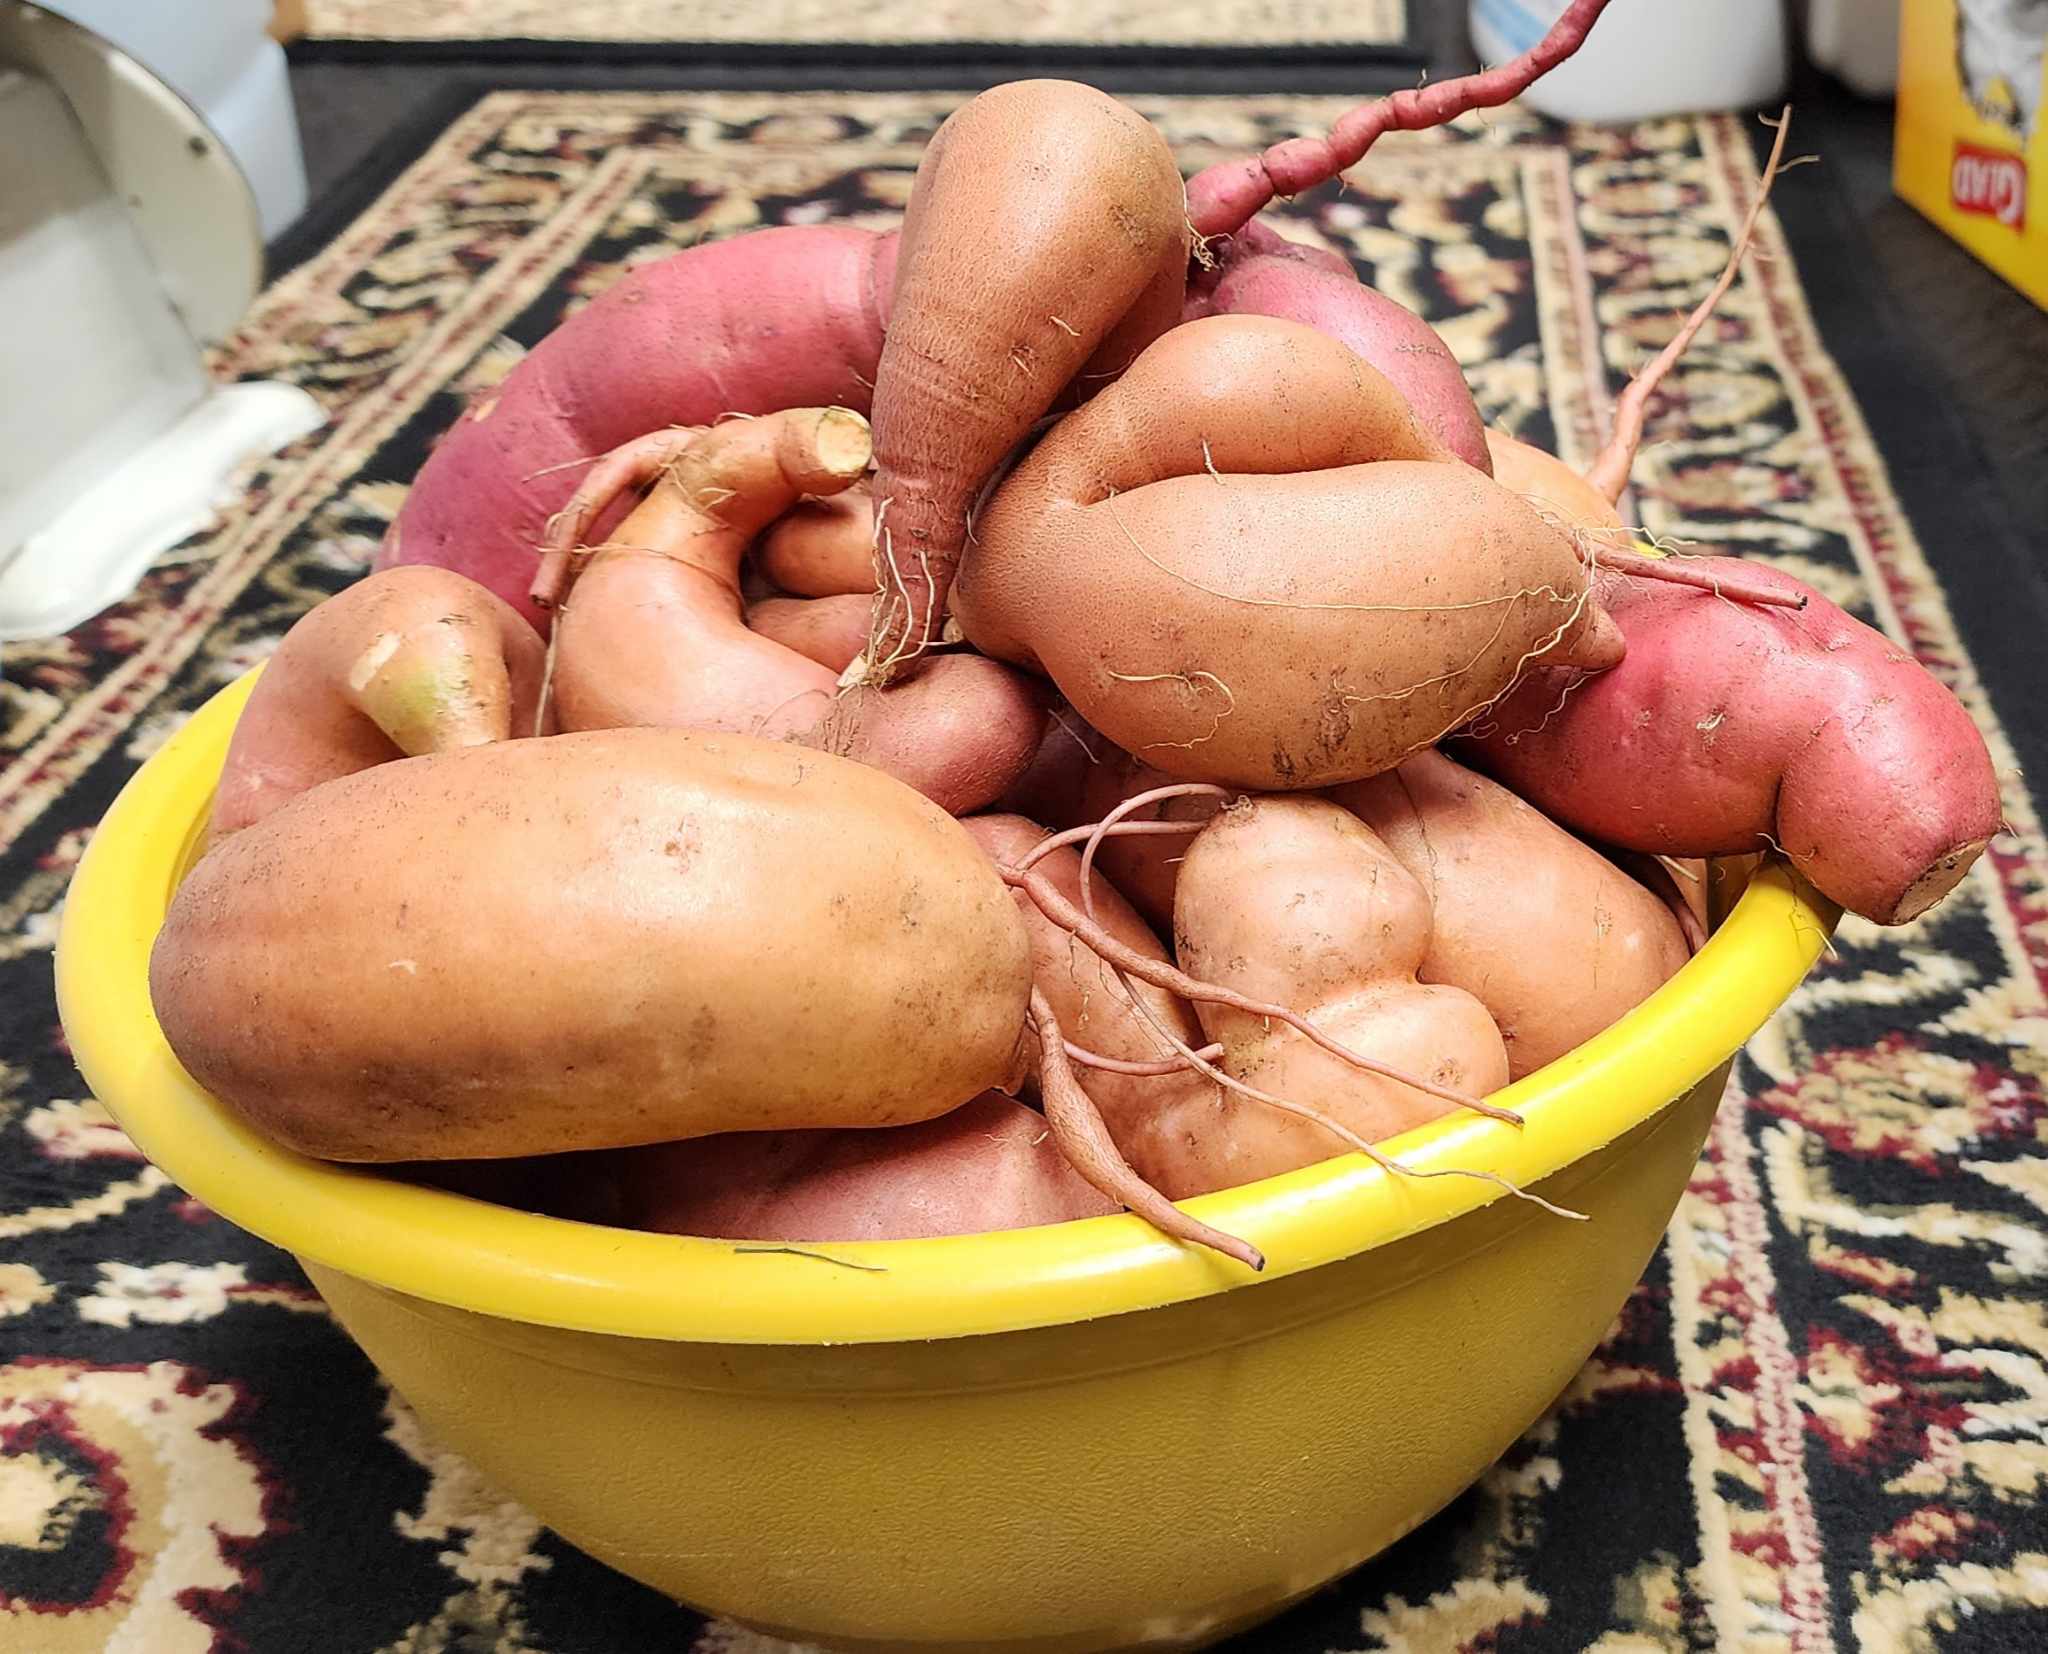
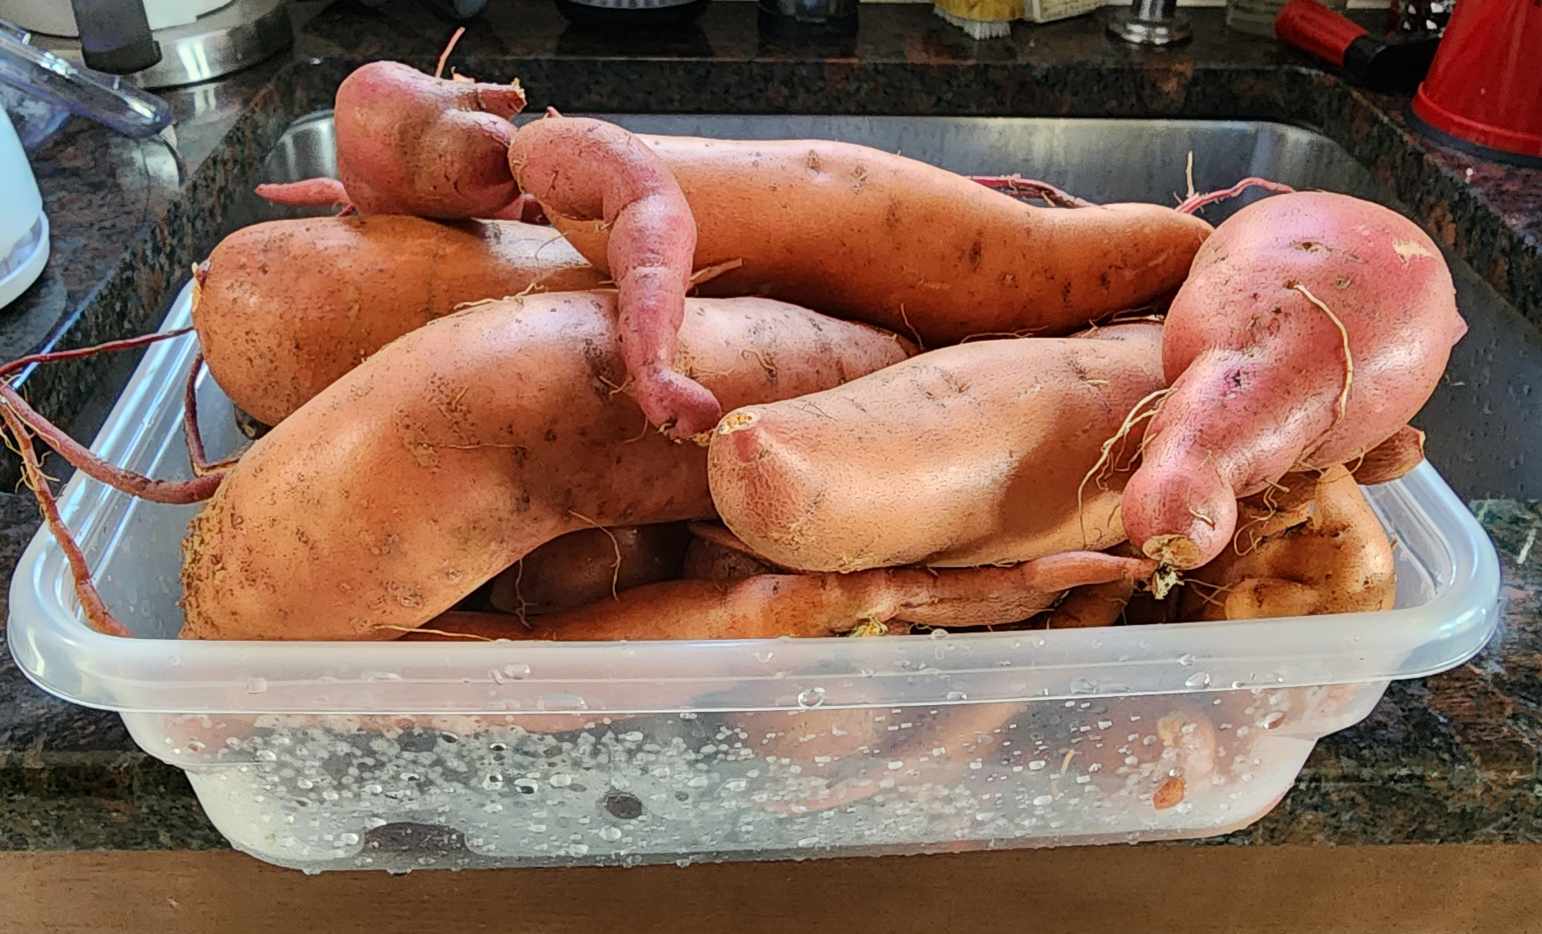
Homegrown sweet potatoes & yams
Restaurant Meals:
I don't always eat at home, so I can't always control what's in my food or how it is prepared. When I eat out at a restaurant, I'll mostly go for the healthier options - something low-carb that isn't deep fried or charred, and that has no sweetened glaze or sauce, with a good number of vegetables, and a plain salad with no dressing.
Things like:
- Salmon
- Mushroom enchiladas
- Fungy pizza. And yes, I'm a pineapple-on-a-pizza kind of guy.
- Or, at my favorite local restaurant, Ford's Garage ("I've always wanted to try that place"): I'll drink a: water with lemon,
- OR an unsweetened tea with lemon,
- OR a new beer I've never tried before,
- OR an Atwater Dirty Blonde beer (yes, I do drink alcohol occasionally),
- or soda with bitters and lime.
It really just depends on what I'm in the mood for.
- I'll start with a Berries & Gorgonzola Salad with no dressing (definitely a meal all on its own), and then order a
- Mushroom Swiss Burger with Angus Beef, cooked medium, including an avocado and an egg sunny side up.
- With a side of broccoli
- If I'm in a carb re-feed cycle, I'll also order a 'side car' of their Mac & Cheese.
Yes, you may have noticed that I eat like a horse. I always order at least TWO meals, and I will generally also help finish-off whatever might be left over on my companion's plates. This is real - feel free to ask any of my friends! 😅 But then this might also be my only meal of the day!
I believe in both feasting and fasting to keep my nutrient sensing capability active & vigilant.
Home-Brewed Lemon Tea (pre-made weekly):
Stored in 64 oz glass bottle. All stirred with an Analemma WaterTube for structure.
- 4 large fresh-squeezed lemons with
- 32 oz 3-stage reverse osmosis filtered water in a tea maker and 2 teabags each of the following organic teas:
o Oolong
o Pu-erh
UPDATE 02/28/2024: I've removed all the teas for now, as micronutrients testing revealed that the high polyphenols and tannins were blocking my iron & B Vitamin uptake!
I did warn you that I am a constant experimenter, and that I will be constantly changing things based upon the results of ongoing testing!
This also goes to show that too much of even a good thing can become in some way detrimental. I have tried decreasing the strengths of the teas that I brew, which helped, but ultimately decided to just remove them completely for now.
- 8 caps full of humic & fulvic minerals
- 8 caps full of aloe vera juice
- 1/2 cup apple cider vinegar
- 4 tbsp liquid Trace Minerals
- 10 tablets of Shilajit
- 1/2 cup fresh blueberries to steep
- a few sprigs of fresh home-grown rosemary & mint.
Several months' worth of nuts & seeds, before chopping and storing refrigerated.
Chia Nut Berry Spice Bowl (pre-made in bulk weekly):
The core of this is simply the sprouted chia and now basil seeds, with some nuts & seeds and some berries. Everything else is completely optional. The following is simply what I choose to add into it to make it as nutritionally dense as possible. And yes, as crazy as it might sound, I do add all of these ingredients. If you wanted to make this for yourself, you certainly would not have to use all these ingredients.
- Chia seeds and Basil seeds soaked overnight in water
- Every type of organic nut & seed imaginable, chopped:
o Almonds, raw, unsalted
o Brazil Nuts, dry roasted, unsalted
o Cashews, raw, unsalted
o Flax seeds, fresh ground
o Hazelnuts, dry roasted, unsalted
o Hemp seeds, raw, hulled
o Macadamia Nuts, roasted, salted
o Pecans, raw, unsalted
o Pine Nuts, raw, unsalted
o Pistachios, roasted, salted
o Pumpkin Seeds, raw
o Sunflower seeds, raw, unsalted
o Walnuts, raw, unsalted
- Organic berries:
o Blueberries, frozen
o Raspberries, frozen
o Goji Berries, some homegrown, when in season.
- Beetroot powder
- Camu Camu powder
- Maca powder
- Mangosteen powder
- Spirulina
- Himalayan Tartary Buckwheat
- Extra Virgin Olive Oil (EVOO), lots!
- Spices:
o Basil
o Cardamom
o Cayenne
o Cinnamon
o Cilantro
o Cumin
o Garlic - ugh. No! Yeck! Garlic on this was horrible!
o Ginger
o Oregano
o Parsley
o Rosemary
o Sage
o Tarragon
o Turmeric
- Nutritional Yeast - I typically will stir a scoop of this into my bowl right before I eat it. I happen to really like it's additional flavor.
Are all these various nuts, seeds, and spices "necessary"? Necessary, no. Beneficial? I believe yes. Any small subset would be just fine, but I personally like to go for maximum nutritional density and diversity.
As humans, we love to fool ourselves into believing that we already know all there is to know about pretty much everything, including food nutrition, but as we've seen over and over through the decades, this just isn't so. Science is still learning new things every day, even about basic things that we thought we already fully understood, like water.
Food compounds such as phytochemicals, terpenes, alkaloids, lectins, saponins, flavonoids, isoflavones, carotenoids, lignans, and lectins, have only just entered into our collective consciousness relatively recently. No one that I know had ever even heard of these things when we were kids.
For some reason, "we" try to isolate only these good compounds, and get more of them in a supplement, or, worse yet, patent pharmaceutical drugs from their derivatives. This completely ignores the fact that these things are far often more effective and have less negative side effects when consumed in their original forms. This also ignores all of the other synergetic compounds they contain that we don't yet know about -- things that very likely provide us other benefits that we haven't even identified yet.
For these reasons, I opt first for whole food forms of these nutrients. Whole foods provide us with everything, including the things we don't yet understand and the things that we only now think we understand, even if mistakenly. And this is why I regularly test my micronutrient status to verify that I'm not over- or under-doing the things we do currently know about.
Not so coincidentally, when I make this without the spices, it has a very limited shelf life before it begins to grow mold. Many of these spices are anti-microbial, and as a result I can make much larger batches and now never have to throw any away.
Looking at this entire meal plan overall, I've heard people say, "Gosh, that's really complex!" I have to answer, "Then you're looking at this the wrong way", because noneof these nuts, seeds, powders, or spices are mandatory. If you want to make this yourself, pick any small subset of them to try - pick whichever ones you personally like. The core is the chia, some berries, some nuts, and some seeds. The point is, you've got dozens of other options that you can choose from to add-in, to change up the texture and flavor any way you like! Experiment around to see what you like. I certainly do!
The reason I don't include quantities here to make this a proper recipe is the fact that I make such a large quantity in bulk that I end up freezing half of it for later use. And honestly, I don't think I've ever made this exactly the same way twice. I keep changing up the ratios of ingredients as I experiment, and I sincerely enjoy the resulting flavor variations.
I, like many people, used to say, "Well if you take away all the good-tasting things to eat that are supposedly bad for us, then there's nothing left for us to eat!"
Your take-away from looking at this meal plan and all of it's components should instead be "Wow, there's actually a large variety of foods that I can eat that are both healthy and tasty!"
Eating healthy doesn't need to be bland, restrictive, or joyless.
And you don't have to buy a pre-packaged food that someone else concocted. You can think & choose for yourself. You just have to have the guts to try.
Lunch & Dinner Salad (pre-made in bulk once or twice weekly):
- Mix of organic greens:
o Arugula
o Baby Spinach
o Baby Spring Mix
o Swiss Chard, from my garden when in season.
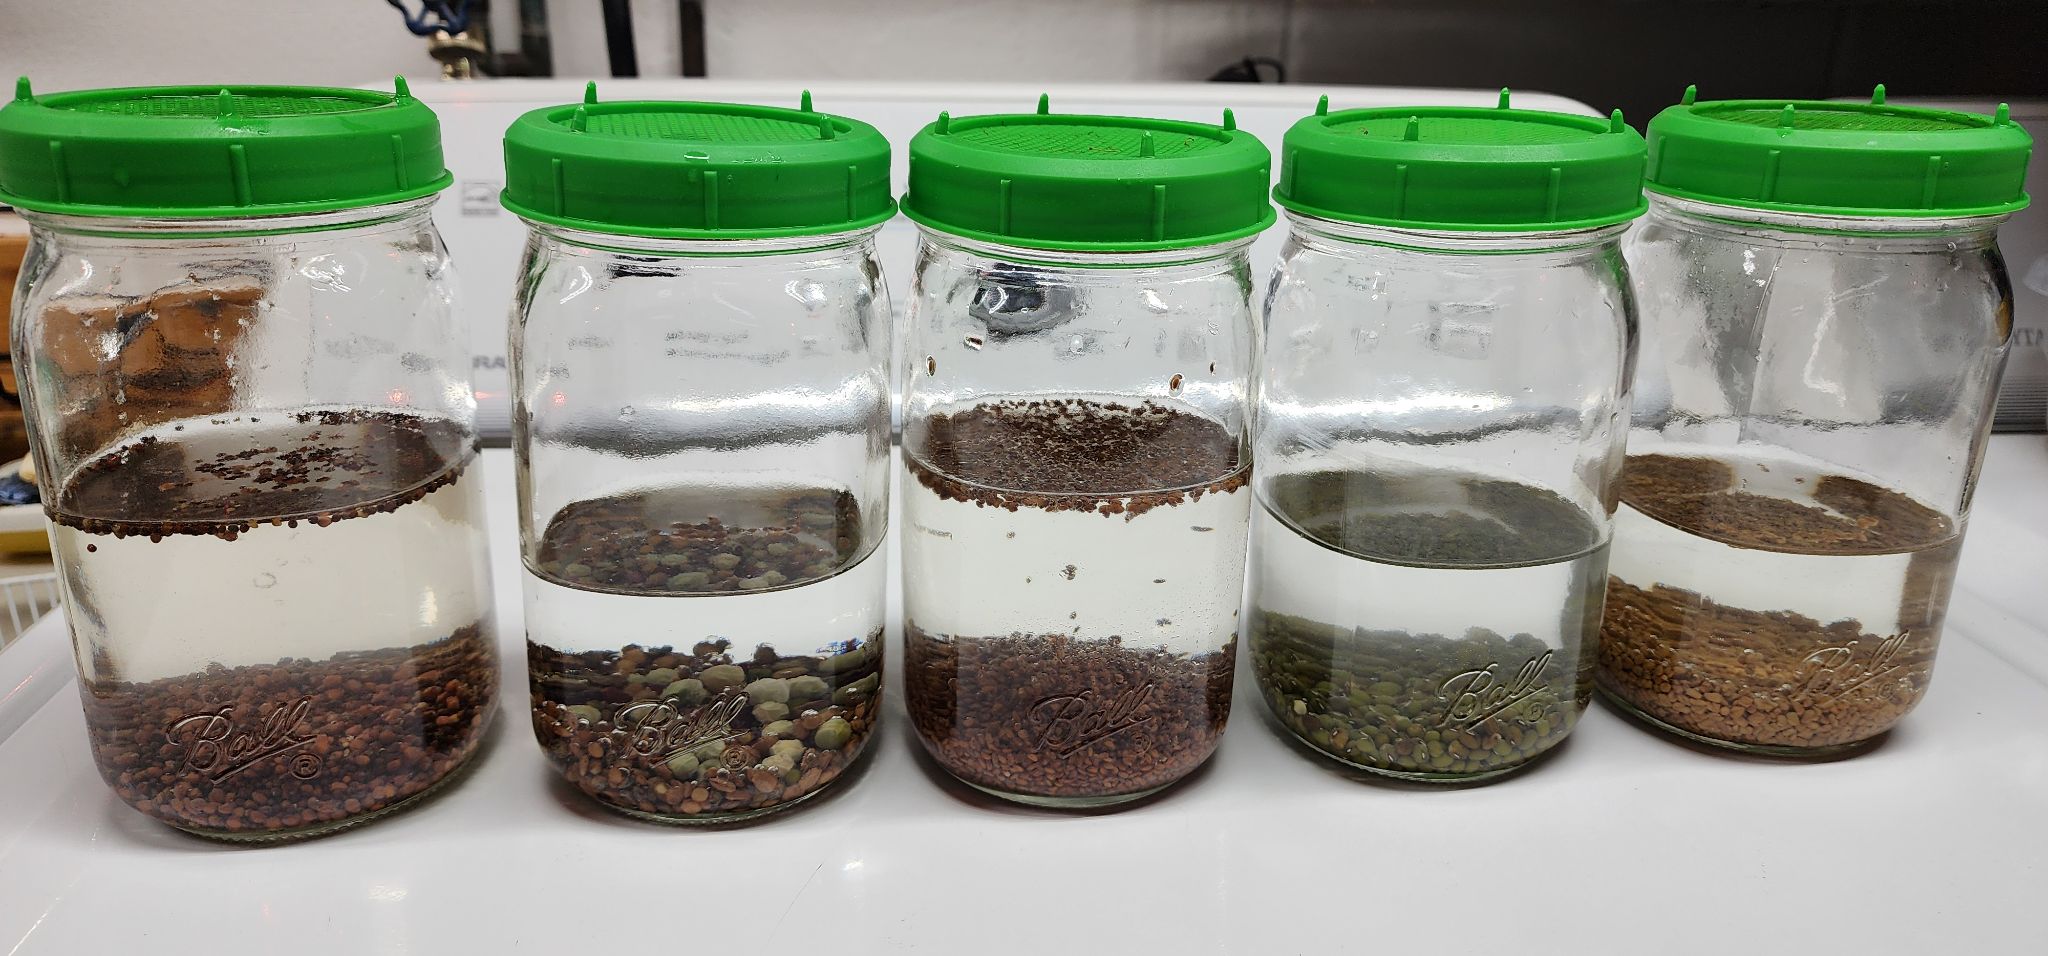
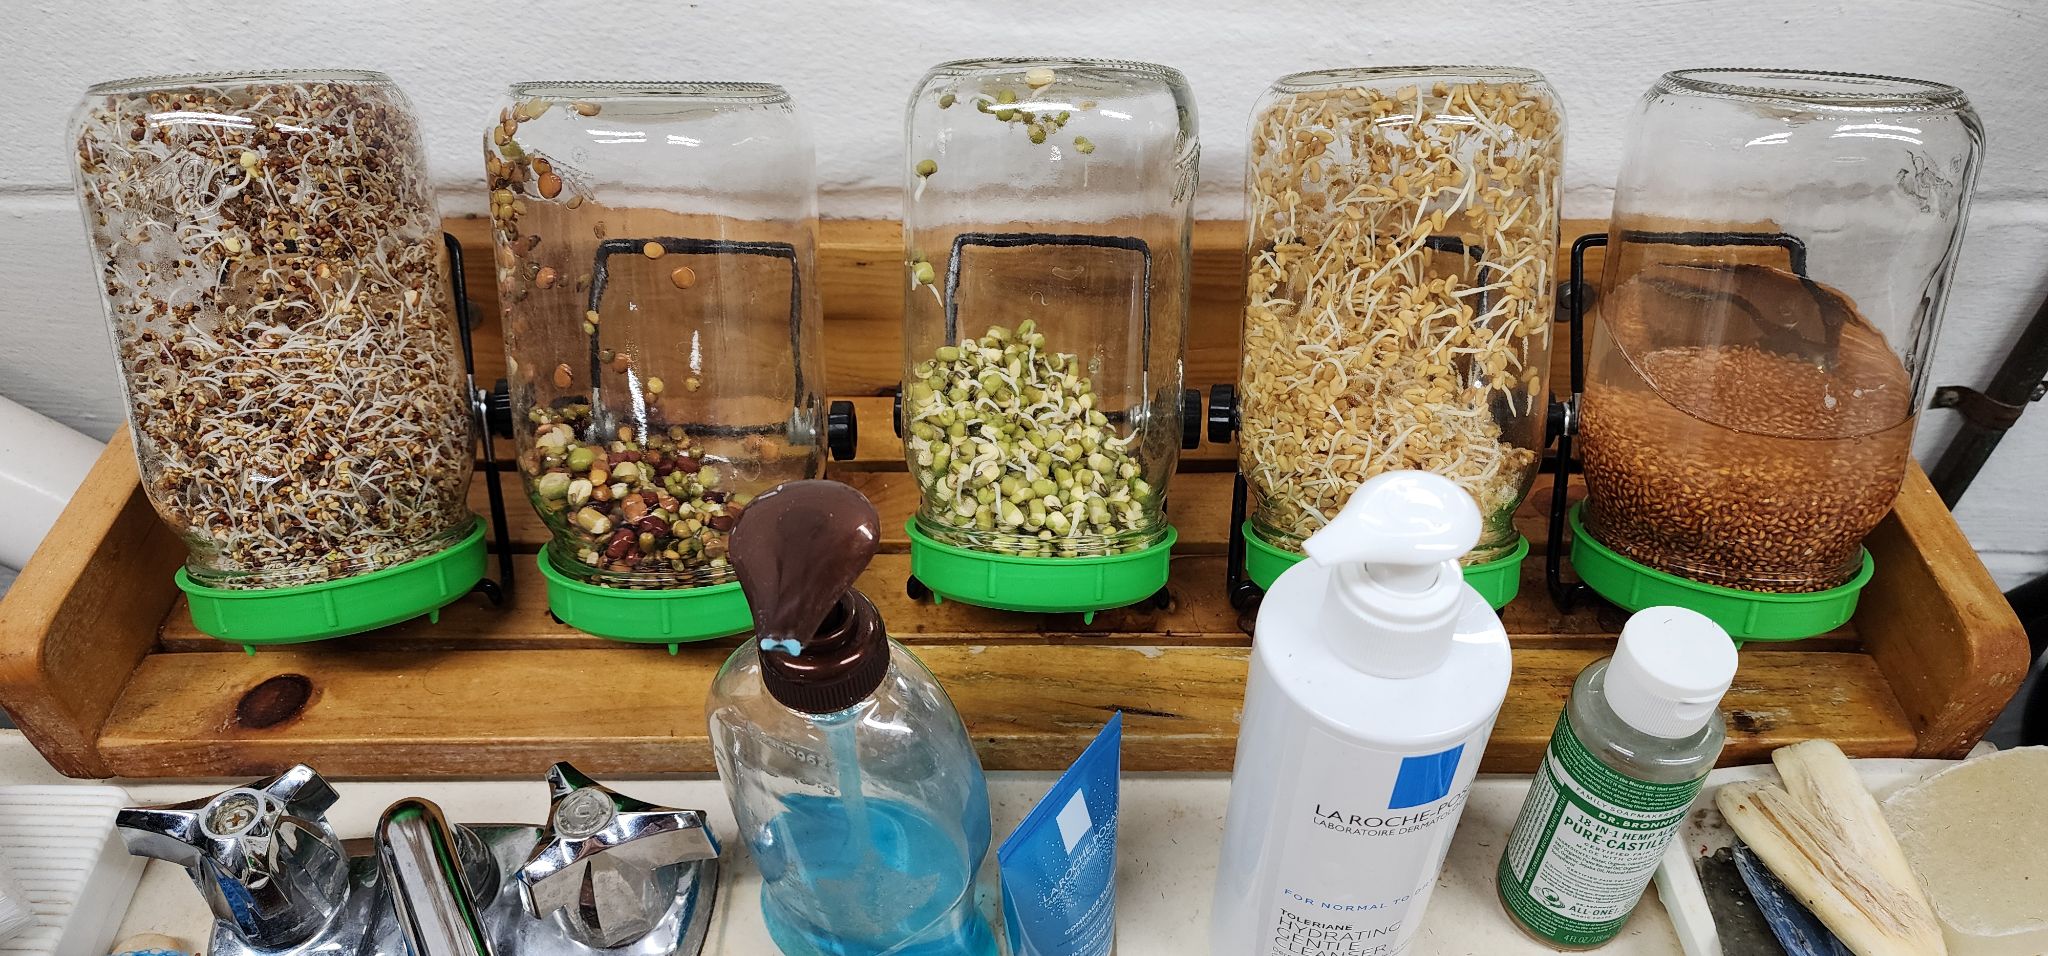
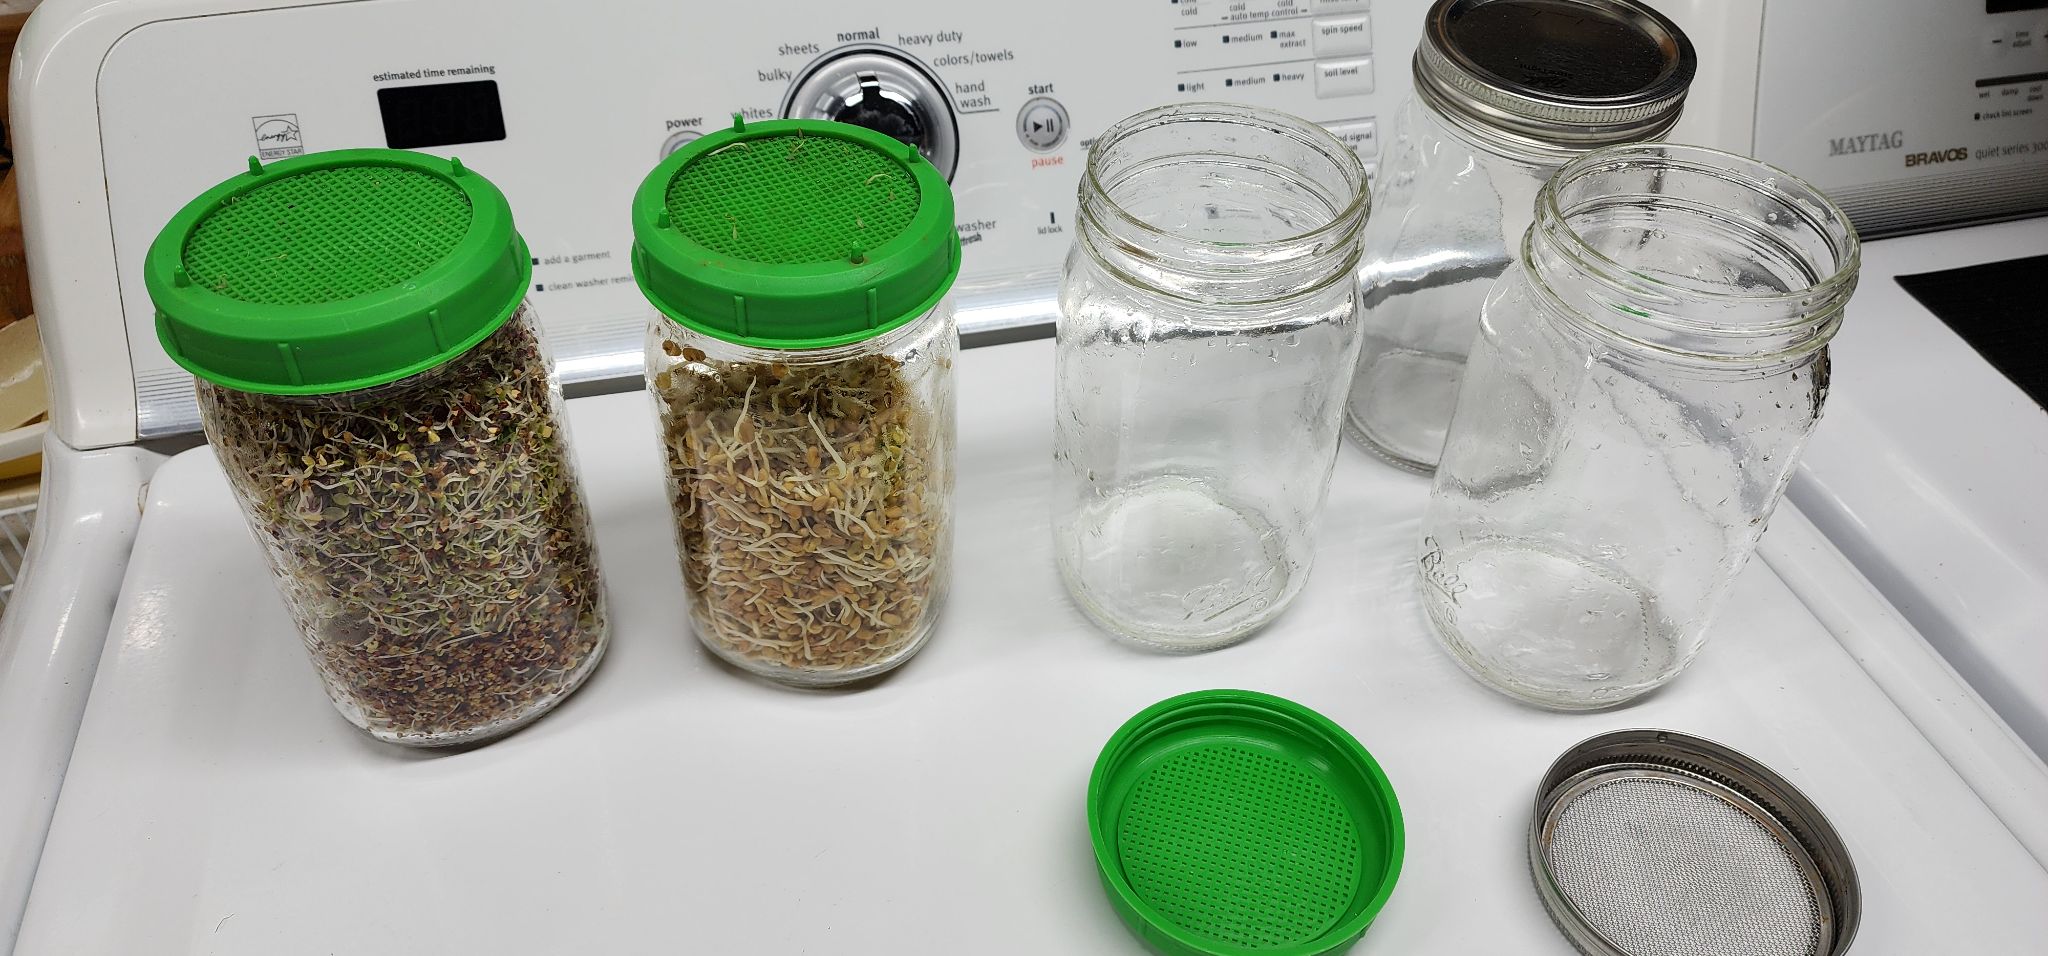
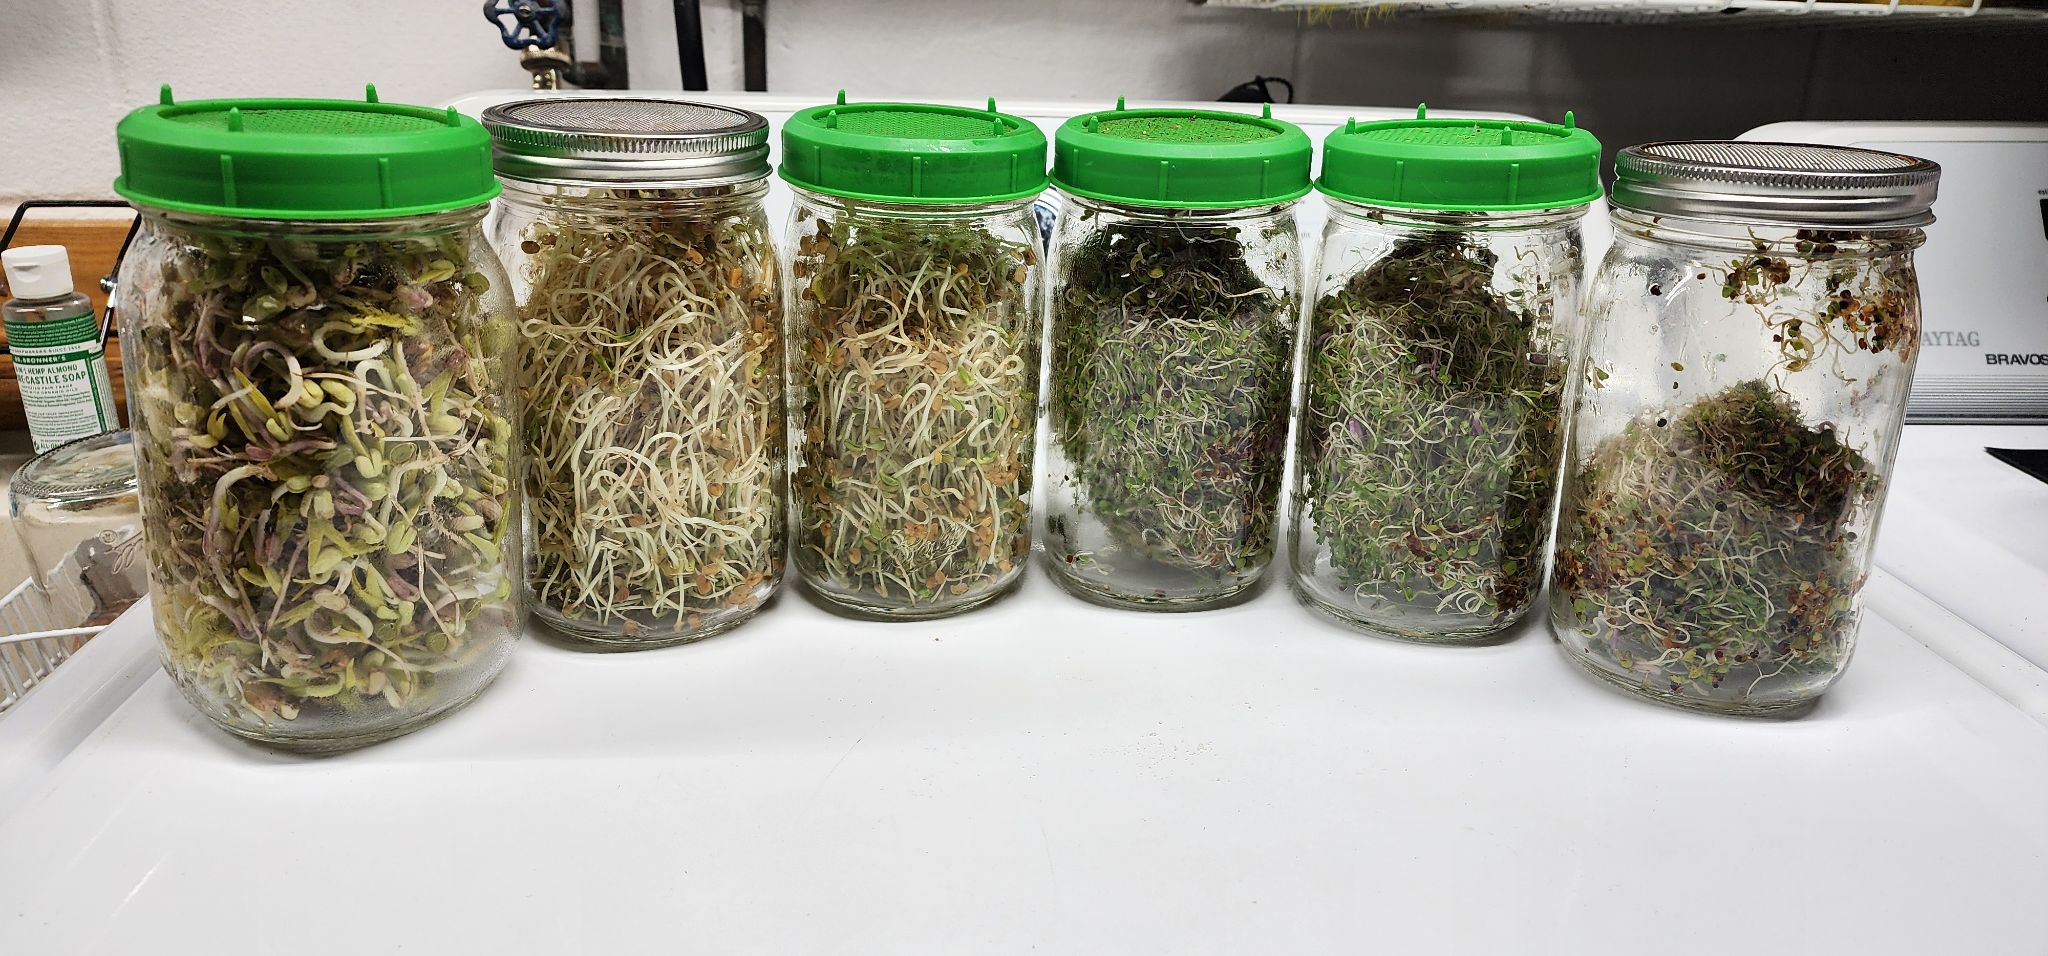
- Mix of homegrown sprouts & micro-greens under grow lamps:
o Broccoli
o Fenugreek
o Lentils
o Mung
o Peas
o Radish
- Berries from my yard when in season, otherwise store-bought and organic (when possible):
o Blueberries
o Raspberries
o Blackberries
o Gogi berries
- Shredded organic vegetables, from my garden when in season, otherwise store-bought and organic (when possible):
o Beets
o Cabbage
o Carrots
o Parsnips
o Radishes
o Turnups
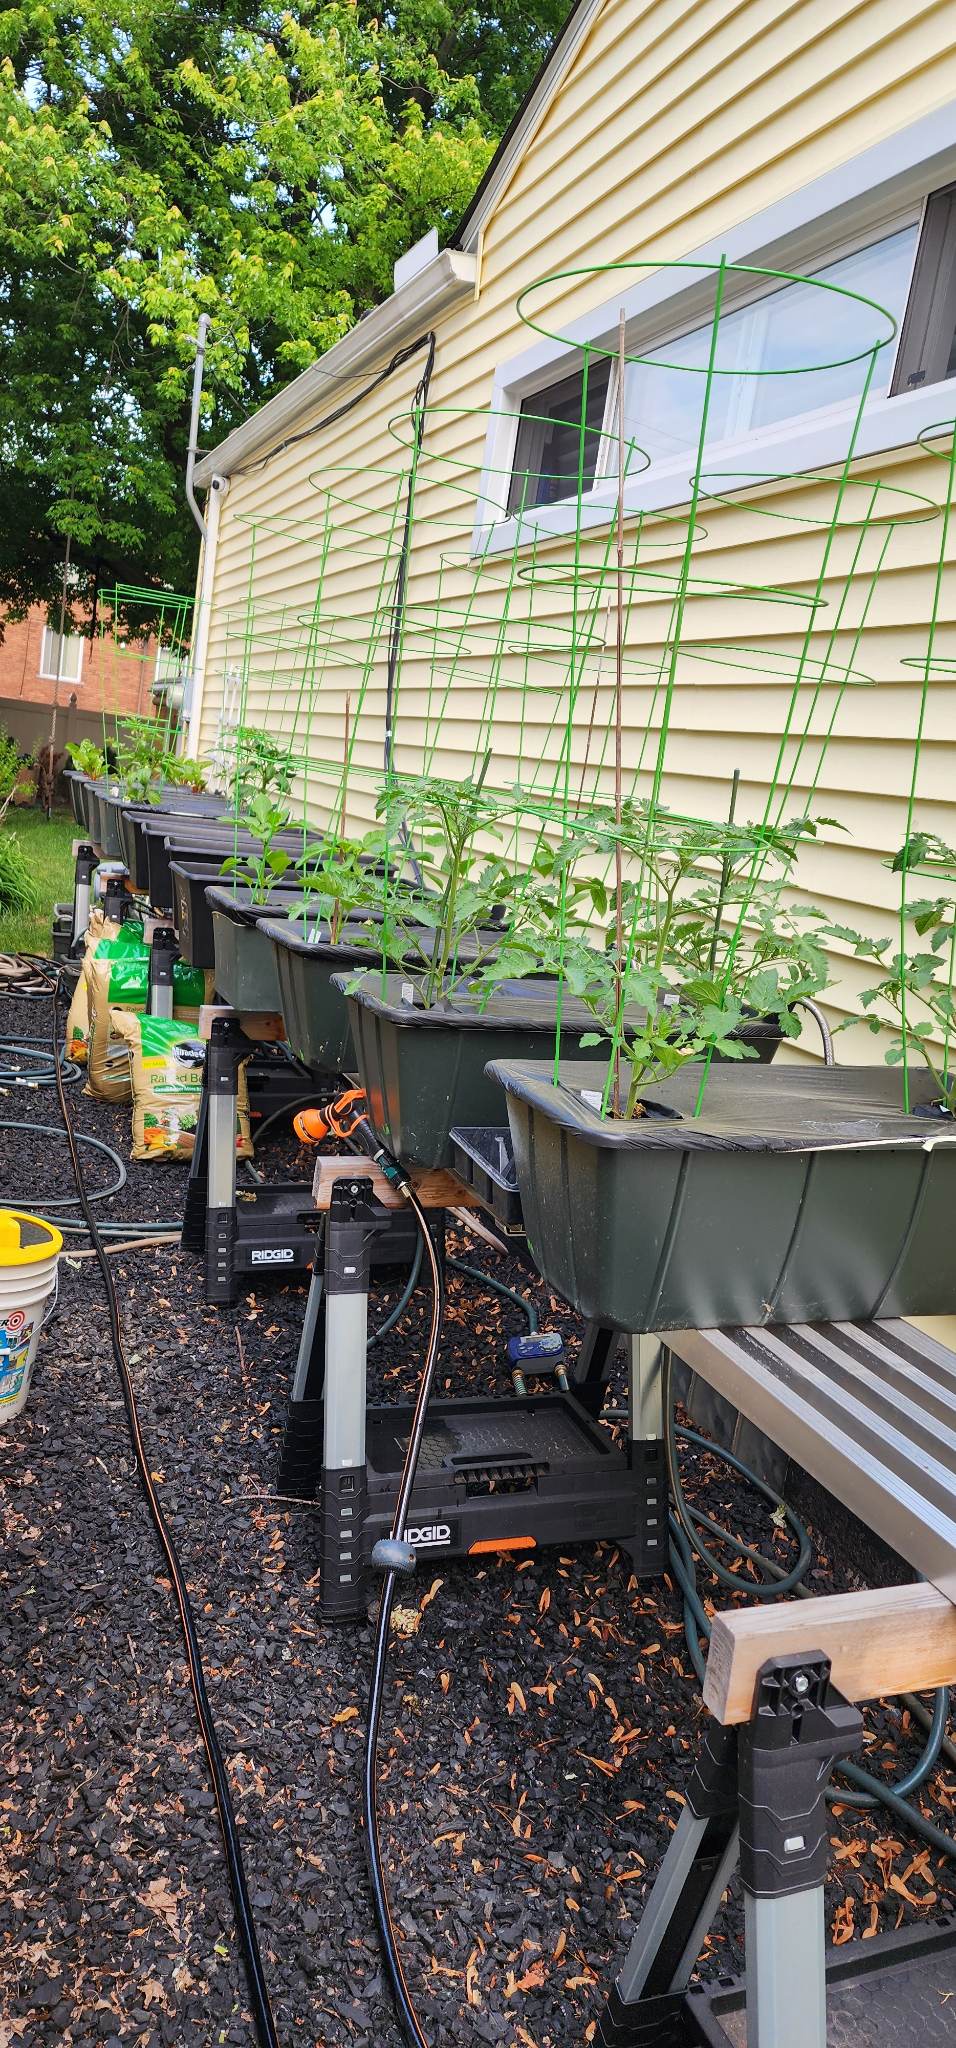
- Chopped Tomatoes, from my garden when in season.
- Sliced Cucumber
- Whole Green Olives
- Feta Sheep or Goat Cheese
- Optional Chicken Breast in EVOO and/or thawed precooked Shrimp
- Dressing:
o Extra Virgin Olive Oil (EVOO), lots!
o Blend of cold-pressed organic oils:
- Black Cumin Oil -- 💰Use code PASCOE for 15% off
- Five Seed Blend - 5 Seeds That Help You Live Longer -- 💰Use code PASCOE for 15% off Black Sesame Oil
- Coriander Oil
- Flax Oil
- Sunflower Oil
- Pumpkin Oil
- Nutritional Yeast - I add a scoop to my bowl and mix it in just prior to eating.